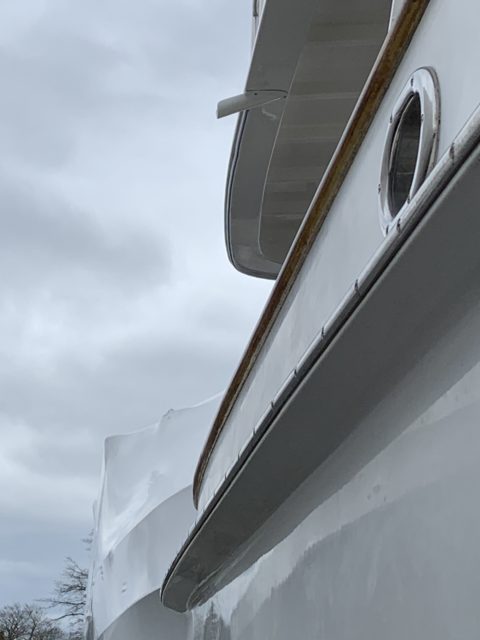
There was this little annoying thing – the rain drain from the flybridge allowed water to fall directly onto the teak rail below, always splashing inward. Not a big thing, but kind of annoying.
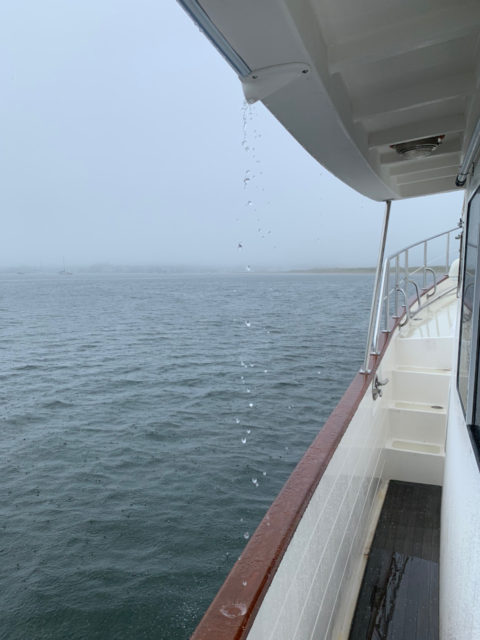
This occasional conversation about a small thing turned into a HUGE winter project. For Al, not me. Remember, he loves tackling something new, if it is for the boat…… and loves a good challenge. especially during the winter months
From October, 2020 through March, 2021, this drain spout became an ongoing mission in the background while he worked on assorted other projects. Al spent hours researching and watching YouTube videos, as well as just figuring out solutions on his own. It became a complex, labor-intensive, multi-step process. This guy doesn’t give up!
Step #1 Removing the old short rainspout.
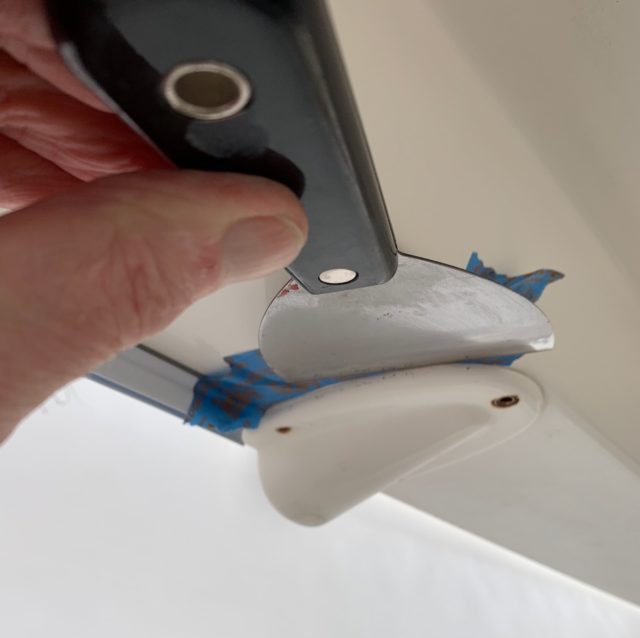
Step #2 Making the new extended rain spout prototype. This began with the PlayDoh.
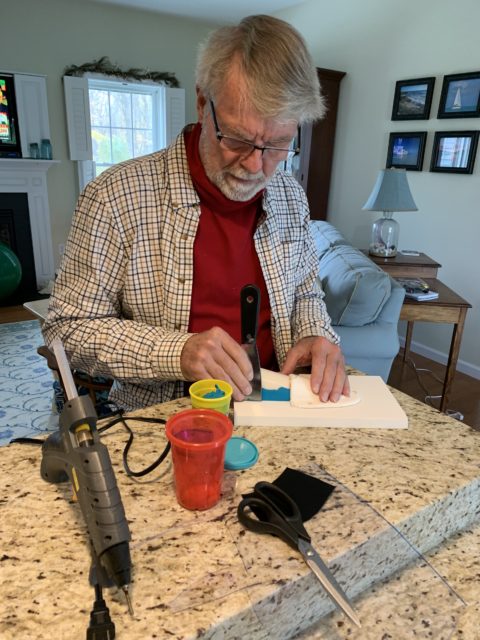
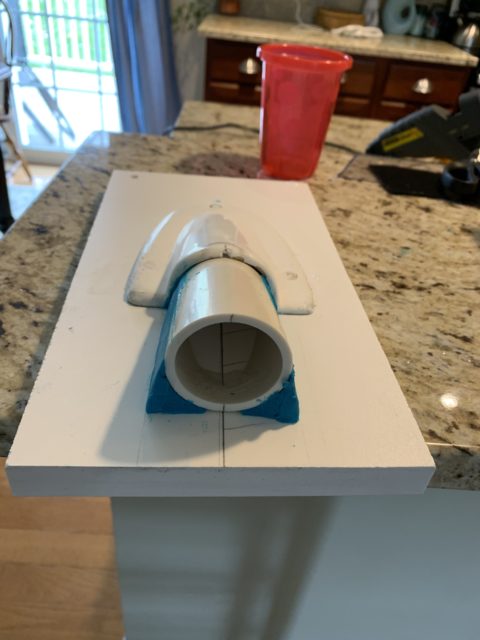
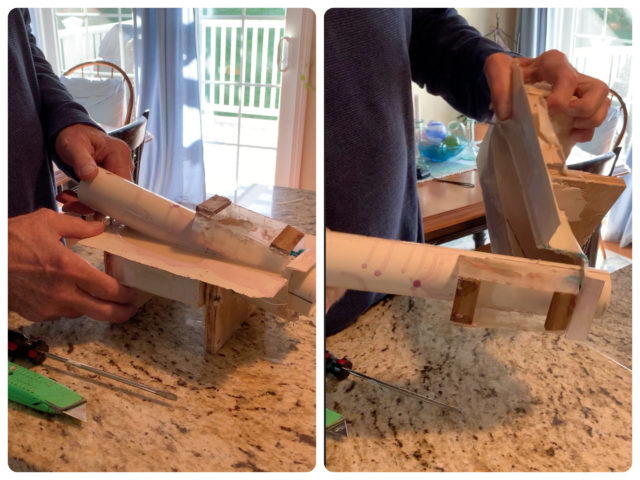
Step #3 – This PlayDoh/PVC/old drain prototype was next covered with fiberglass and wetted out with resin to make a reverse mold.

Step #4 – Wood supports were added to the mold above to keep it from bending. Resin was then poured into the reverse mold.
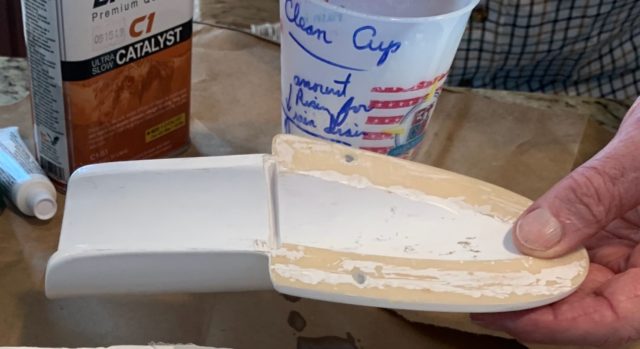
Now Al needed to figure out how to make a pair of rain drains…… and four spares. One was not going to be enough.
Step #5 – A reusable mold was needed. The finished rain drain above formed the basis for a reusable silicone mold.
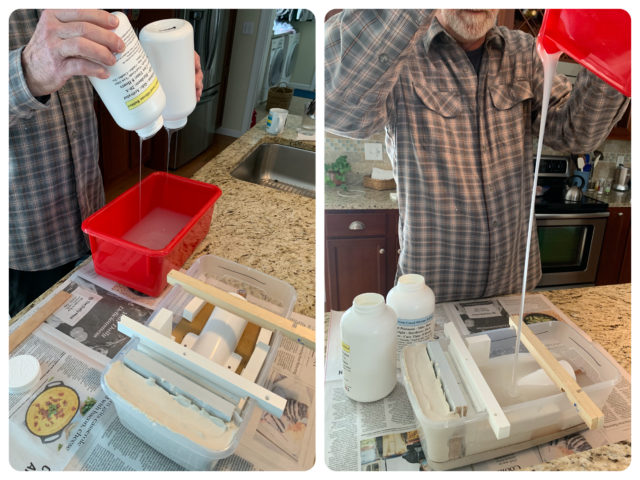

The silicone needed to dry for 24 hours. I can tell you that Al watched that box on the kitchen counter for almost the whole 24 hours, checking it hourly to see if it was “ready.” This silicone mold would be used to reproduce resin duplicates of the new rain spout.
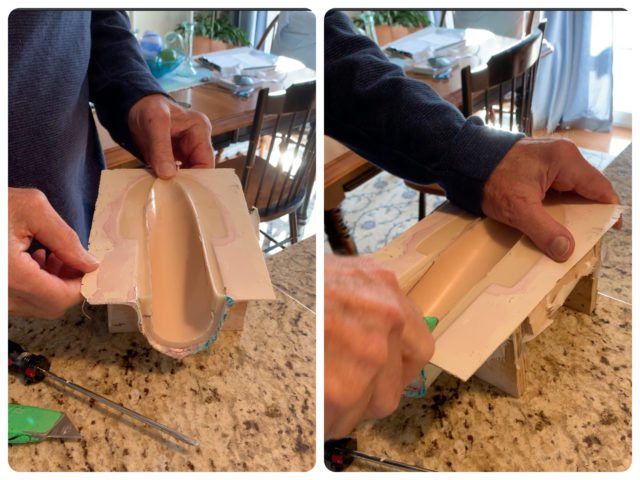
Step #6 – Removing the new longer rain drain from the silicone mold.
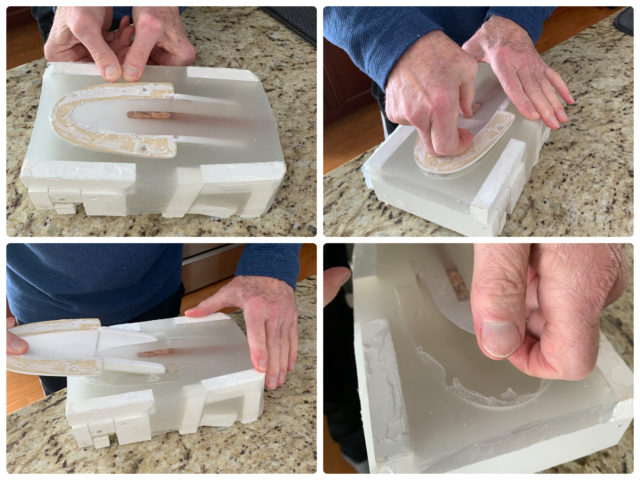
Step #7 – The silicone mold is now ready to be used, over and over again, to make as many longer rain drains as Al wants.
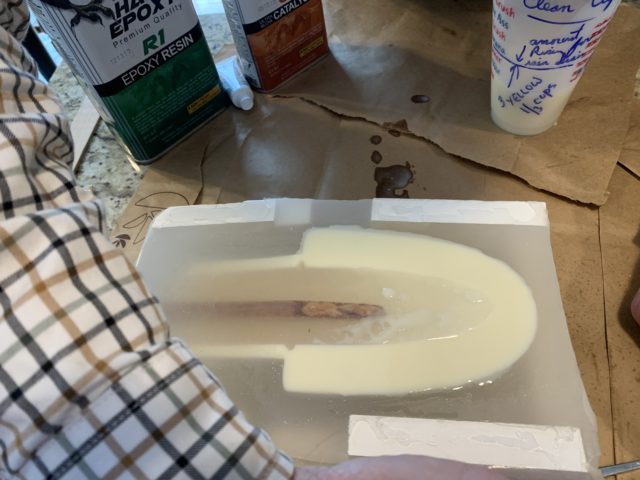
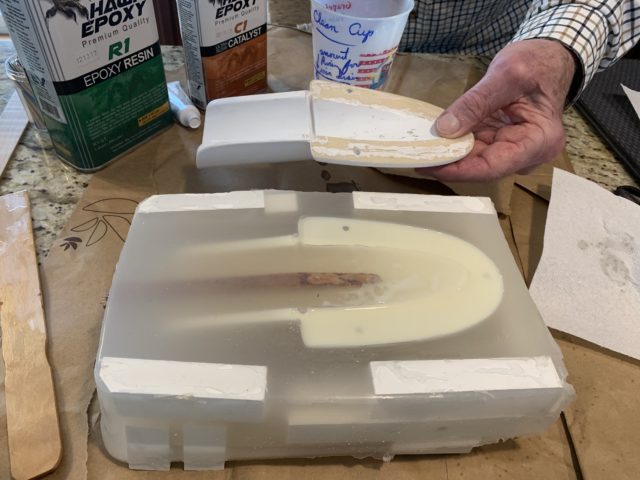
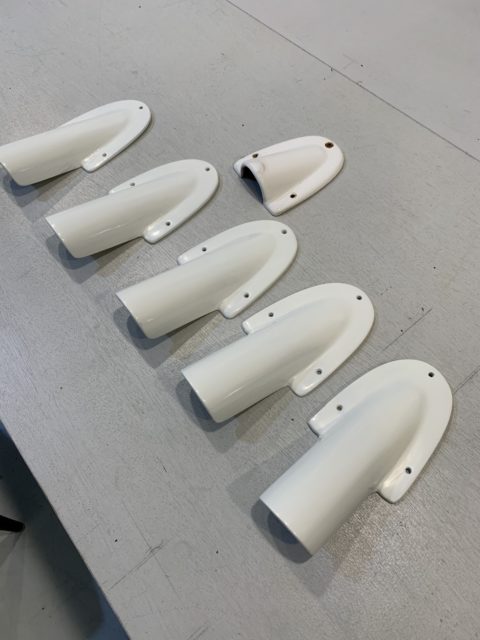
Step #8 – Installation on the boat.
This has to be the hardest blog post I have ever written!!!! Even harder to grasp than electrical wiring. There were so many steps and so many iterations that I became lost in the process over the 6th months as well as while I tried to write this blog. My head was ready to explode!
I do, however, appreciate the final outcome. 😉
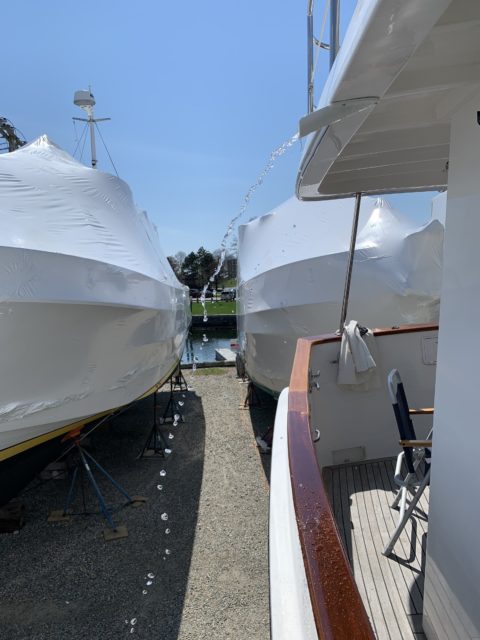
Latest update on this project……. We tested these new longer drains with a lot of water. Hmmmmm, not quite the solution we hoped for, but better than before. Some water still hits the teak rail, but most was shooting out well beyond. We shall see what happens when the boat is in the water and rain falls.
SUNNY Scituate! | Kindred Spirit
[…] it comes and here it is! Al’s custom extended rain spouts worked!! Look at that stream of water out beyond the teak rail! […]