Part 2 of the transformation is about the exterior of the boat. These transformations have to do with comfort and convenience and safety. It’s all about making the boat more liveable. Let’s take a look from the bow to the stern.
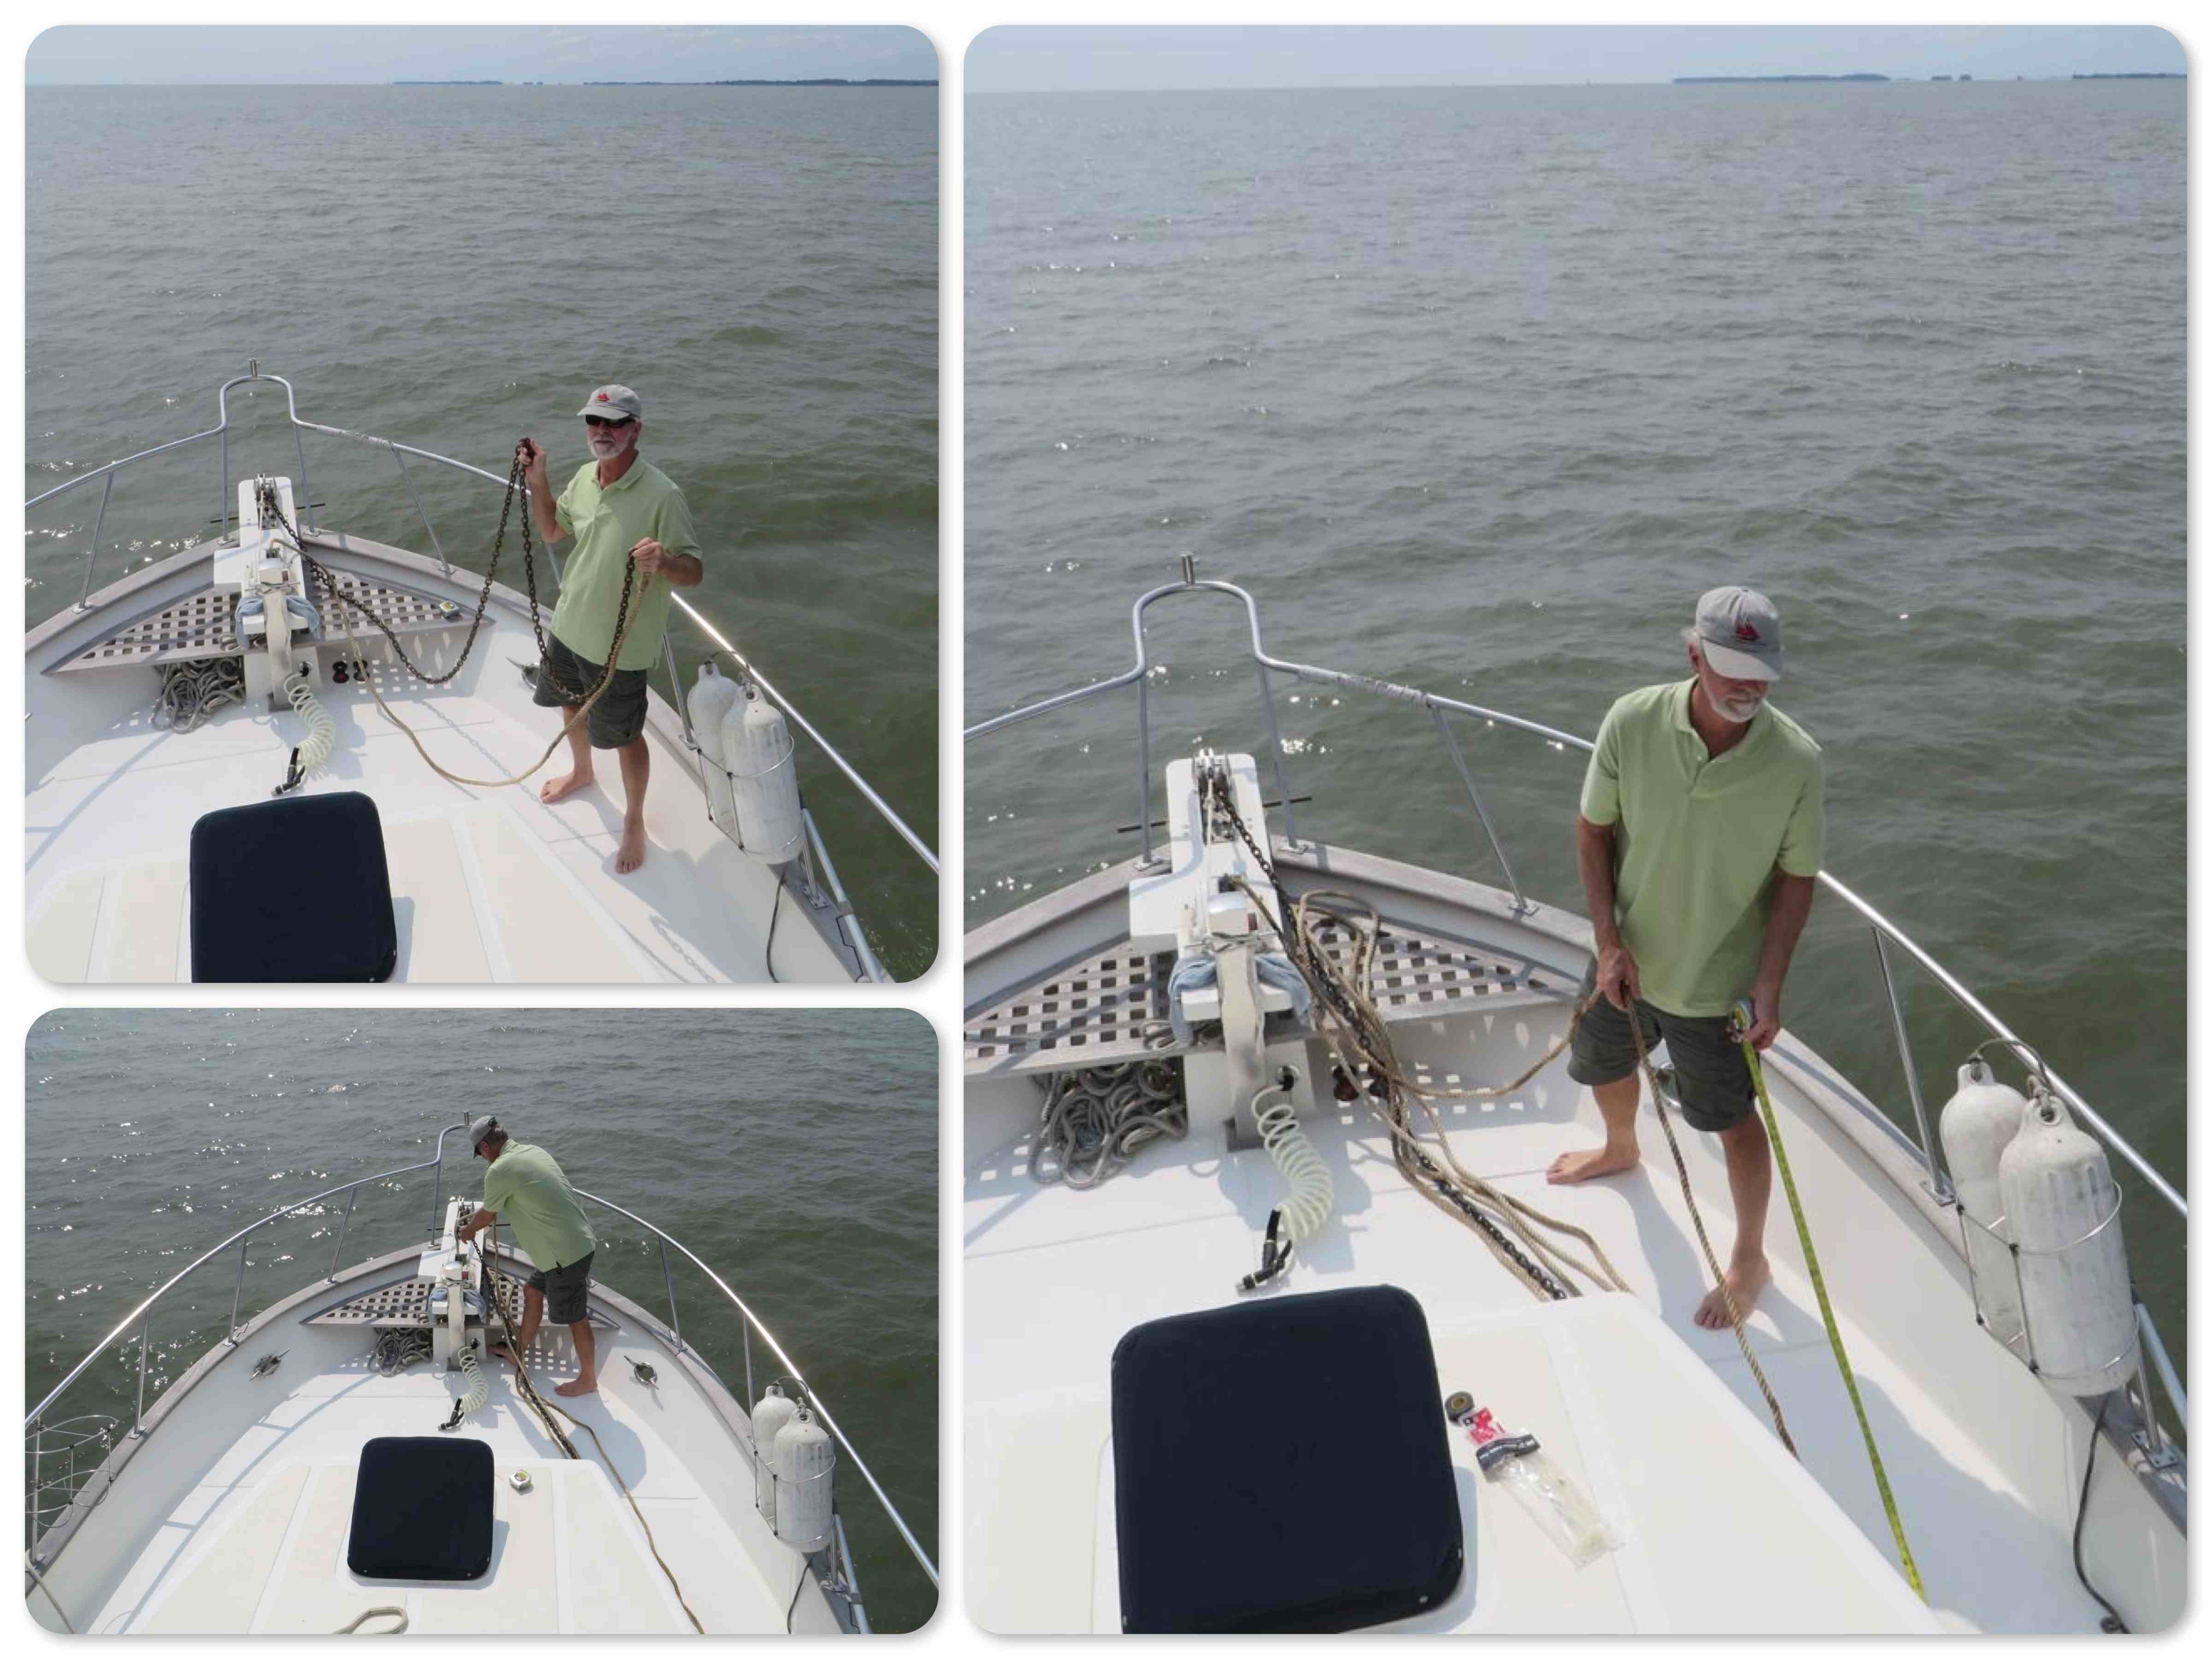
On the bow, anchors aweigh!: You may recall how shocked we were to discover that there was only 15 feet of chain plus 100 feet of line. Whoaa! Or not whoa, because that won’t hold the boat in questionable conditions. The Morgan carried 175 feet of 3/8 inch chain for an anchor rode (rode is the name for the line, chain or combination of line and chain that connects the anchor to the boat.) Recreational boats should have a good amount of chain and then line (rope) for their rode. Larger boats that cruise often carry all chain, especially if they have a windlass. We prefer to have all chain so adding an all chain rode was put on our list.
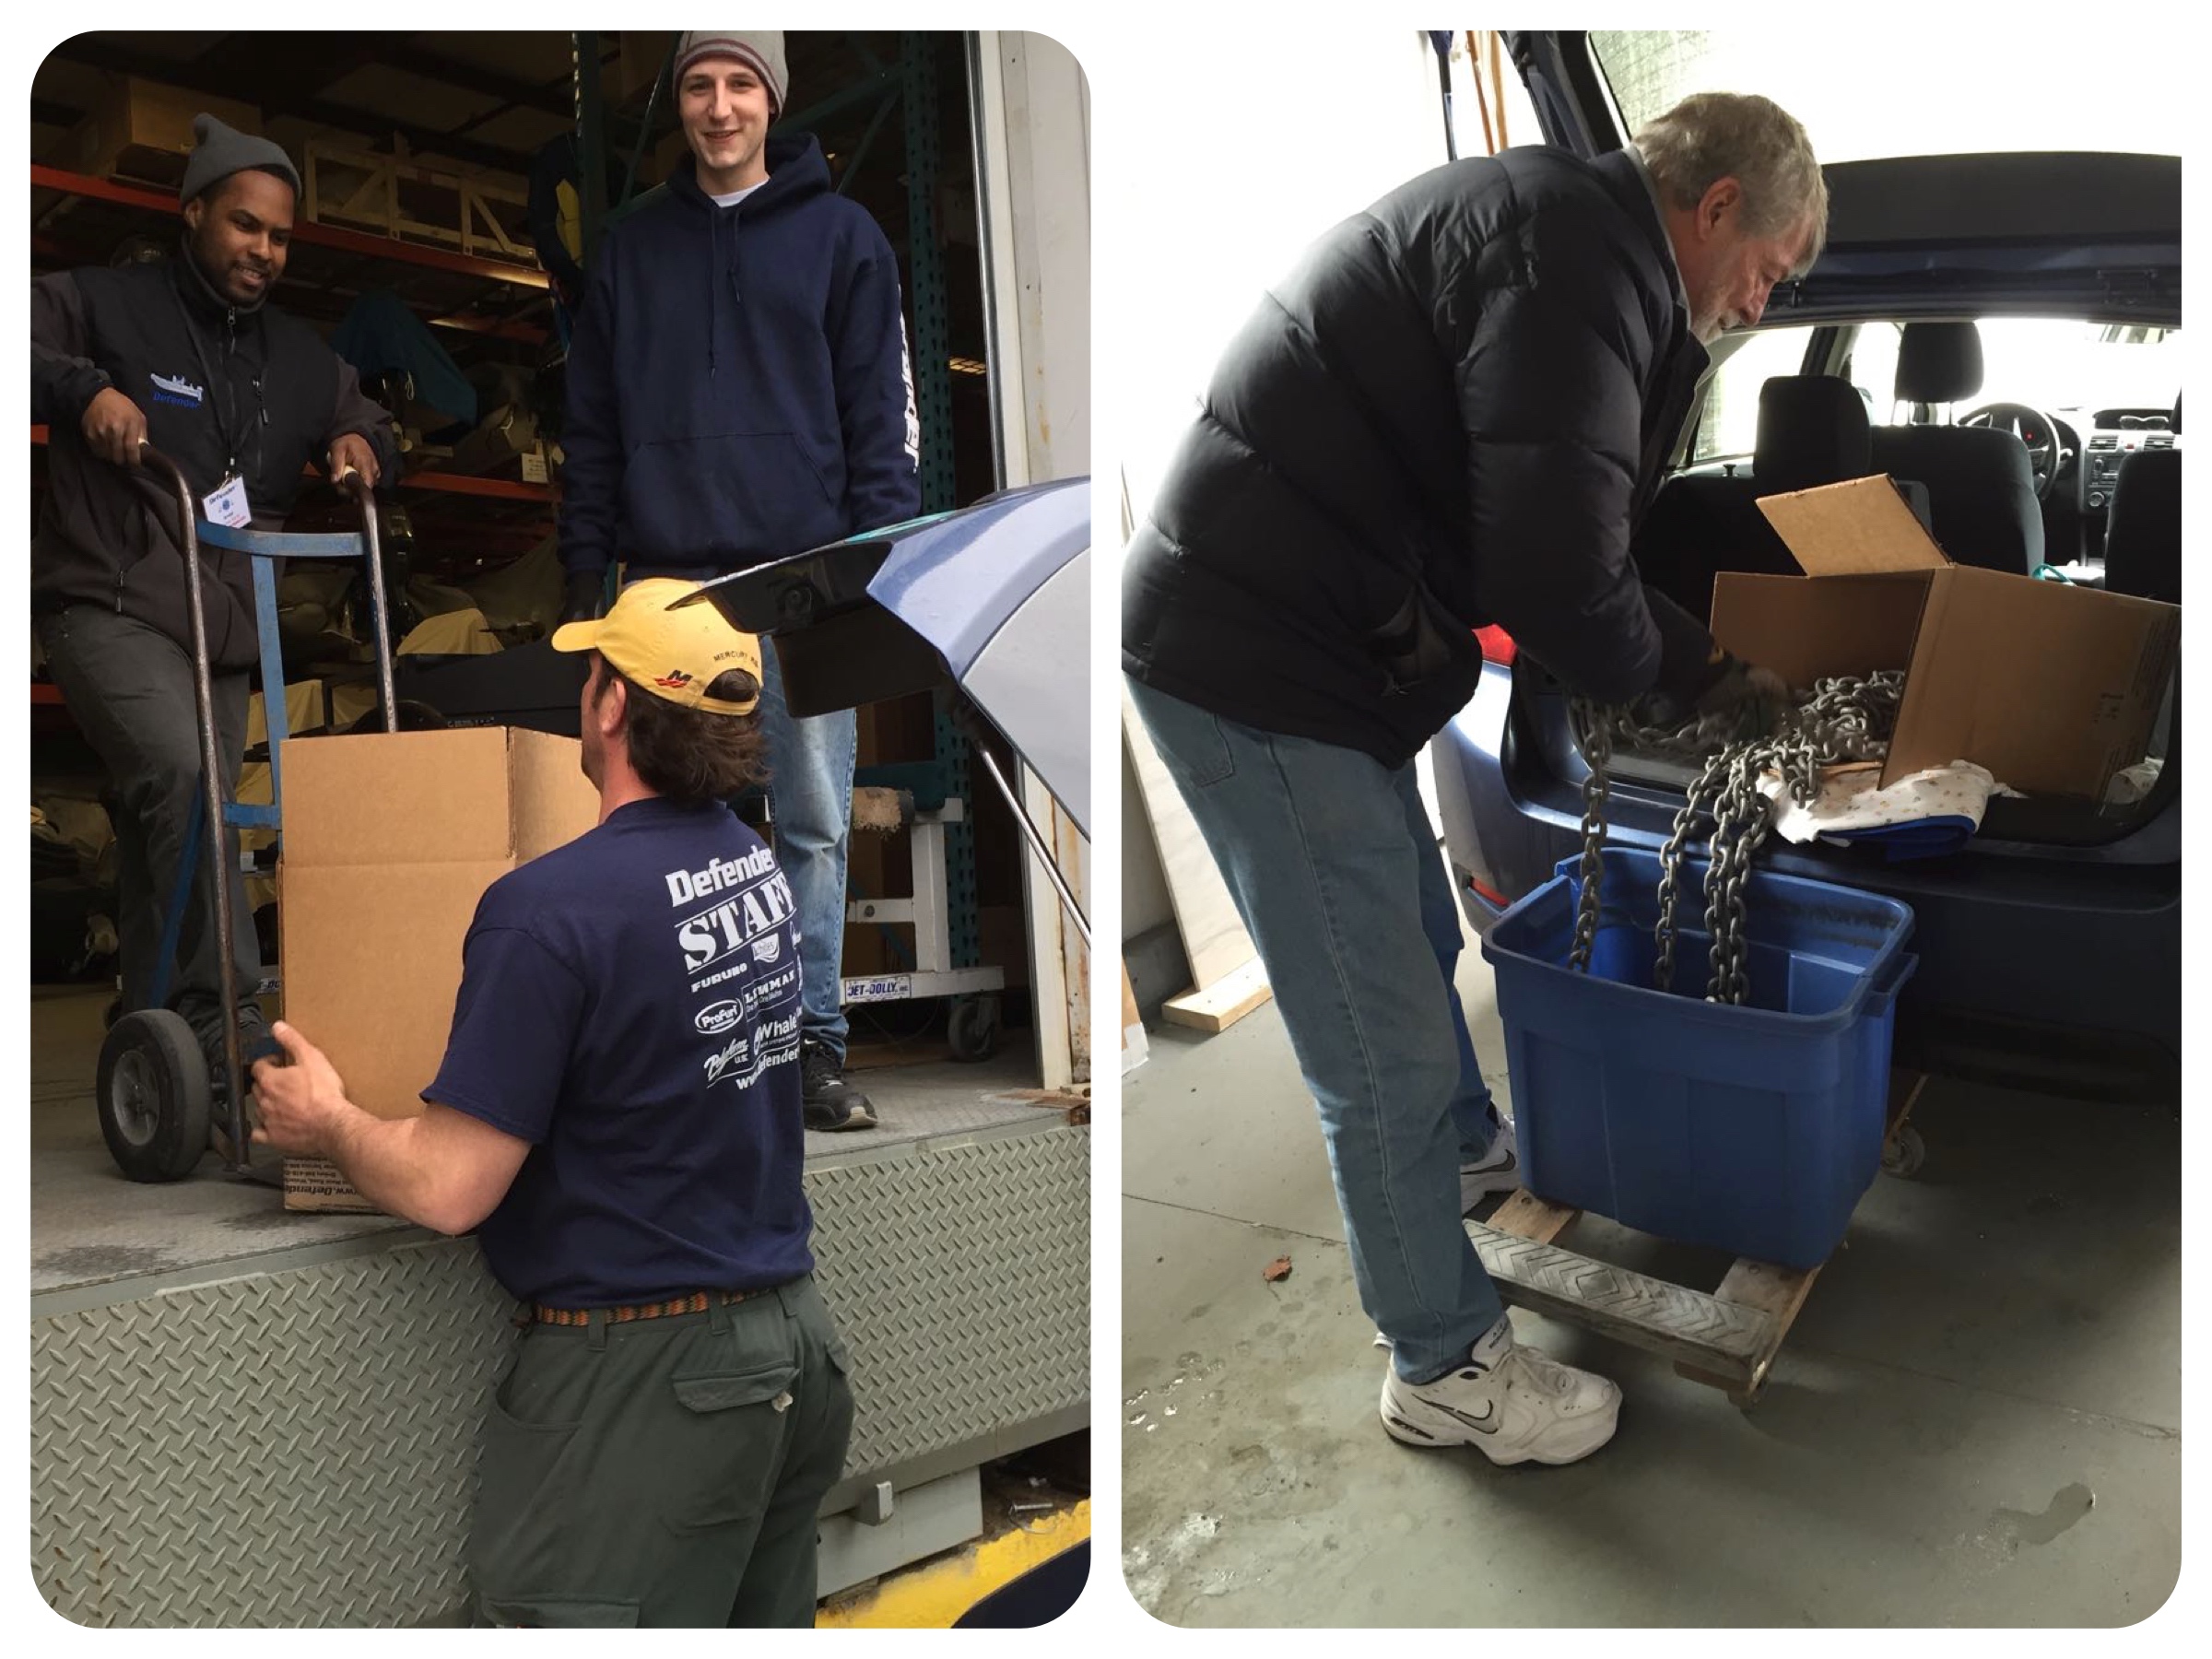
Off we went to Defenders Marine Sale in late March, Al’s favorite way to spend his birthday.
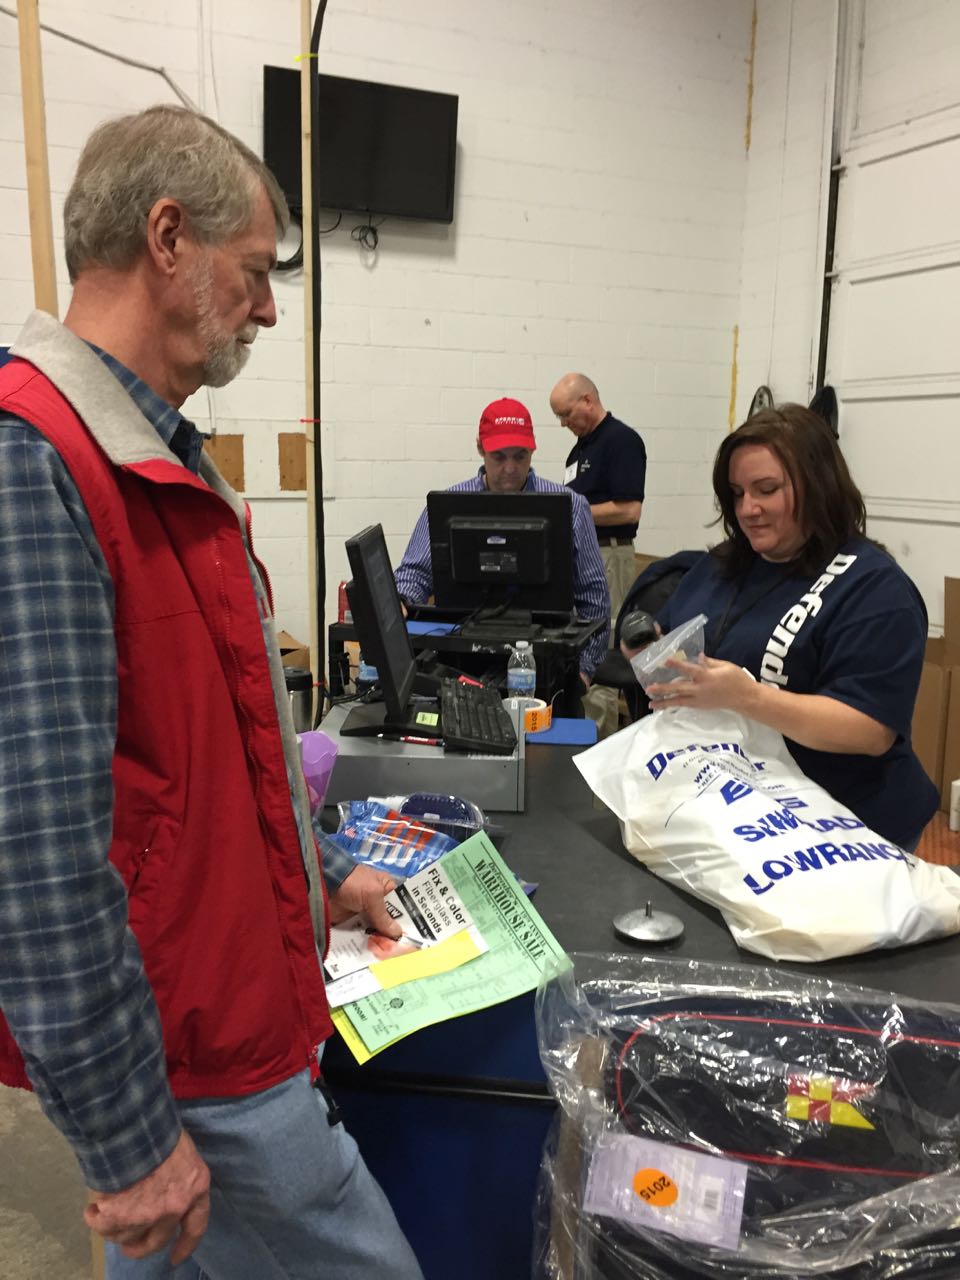
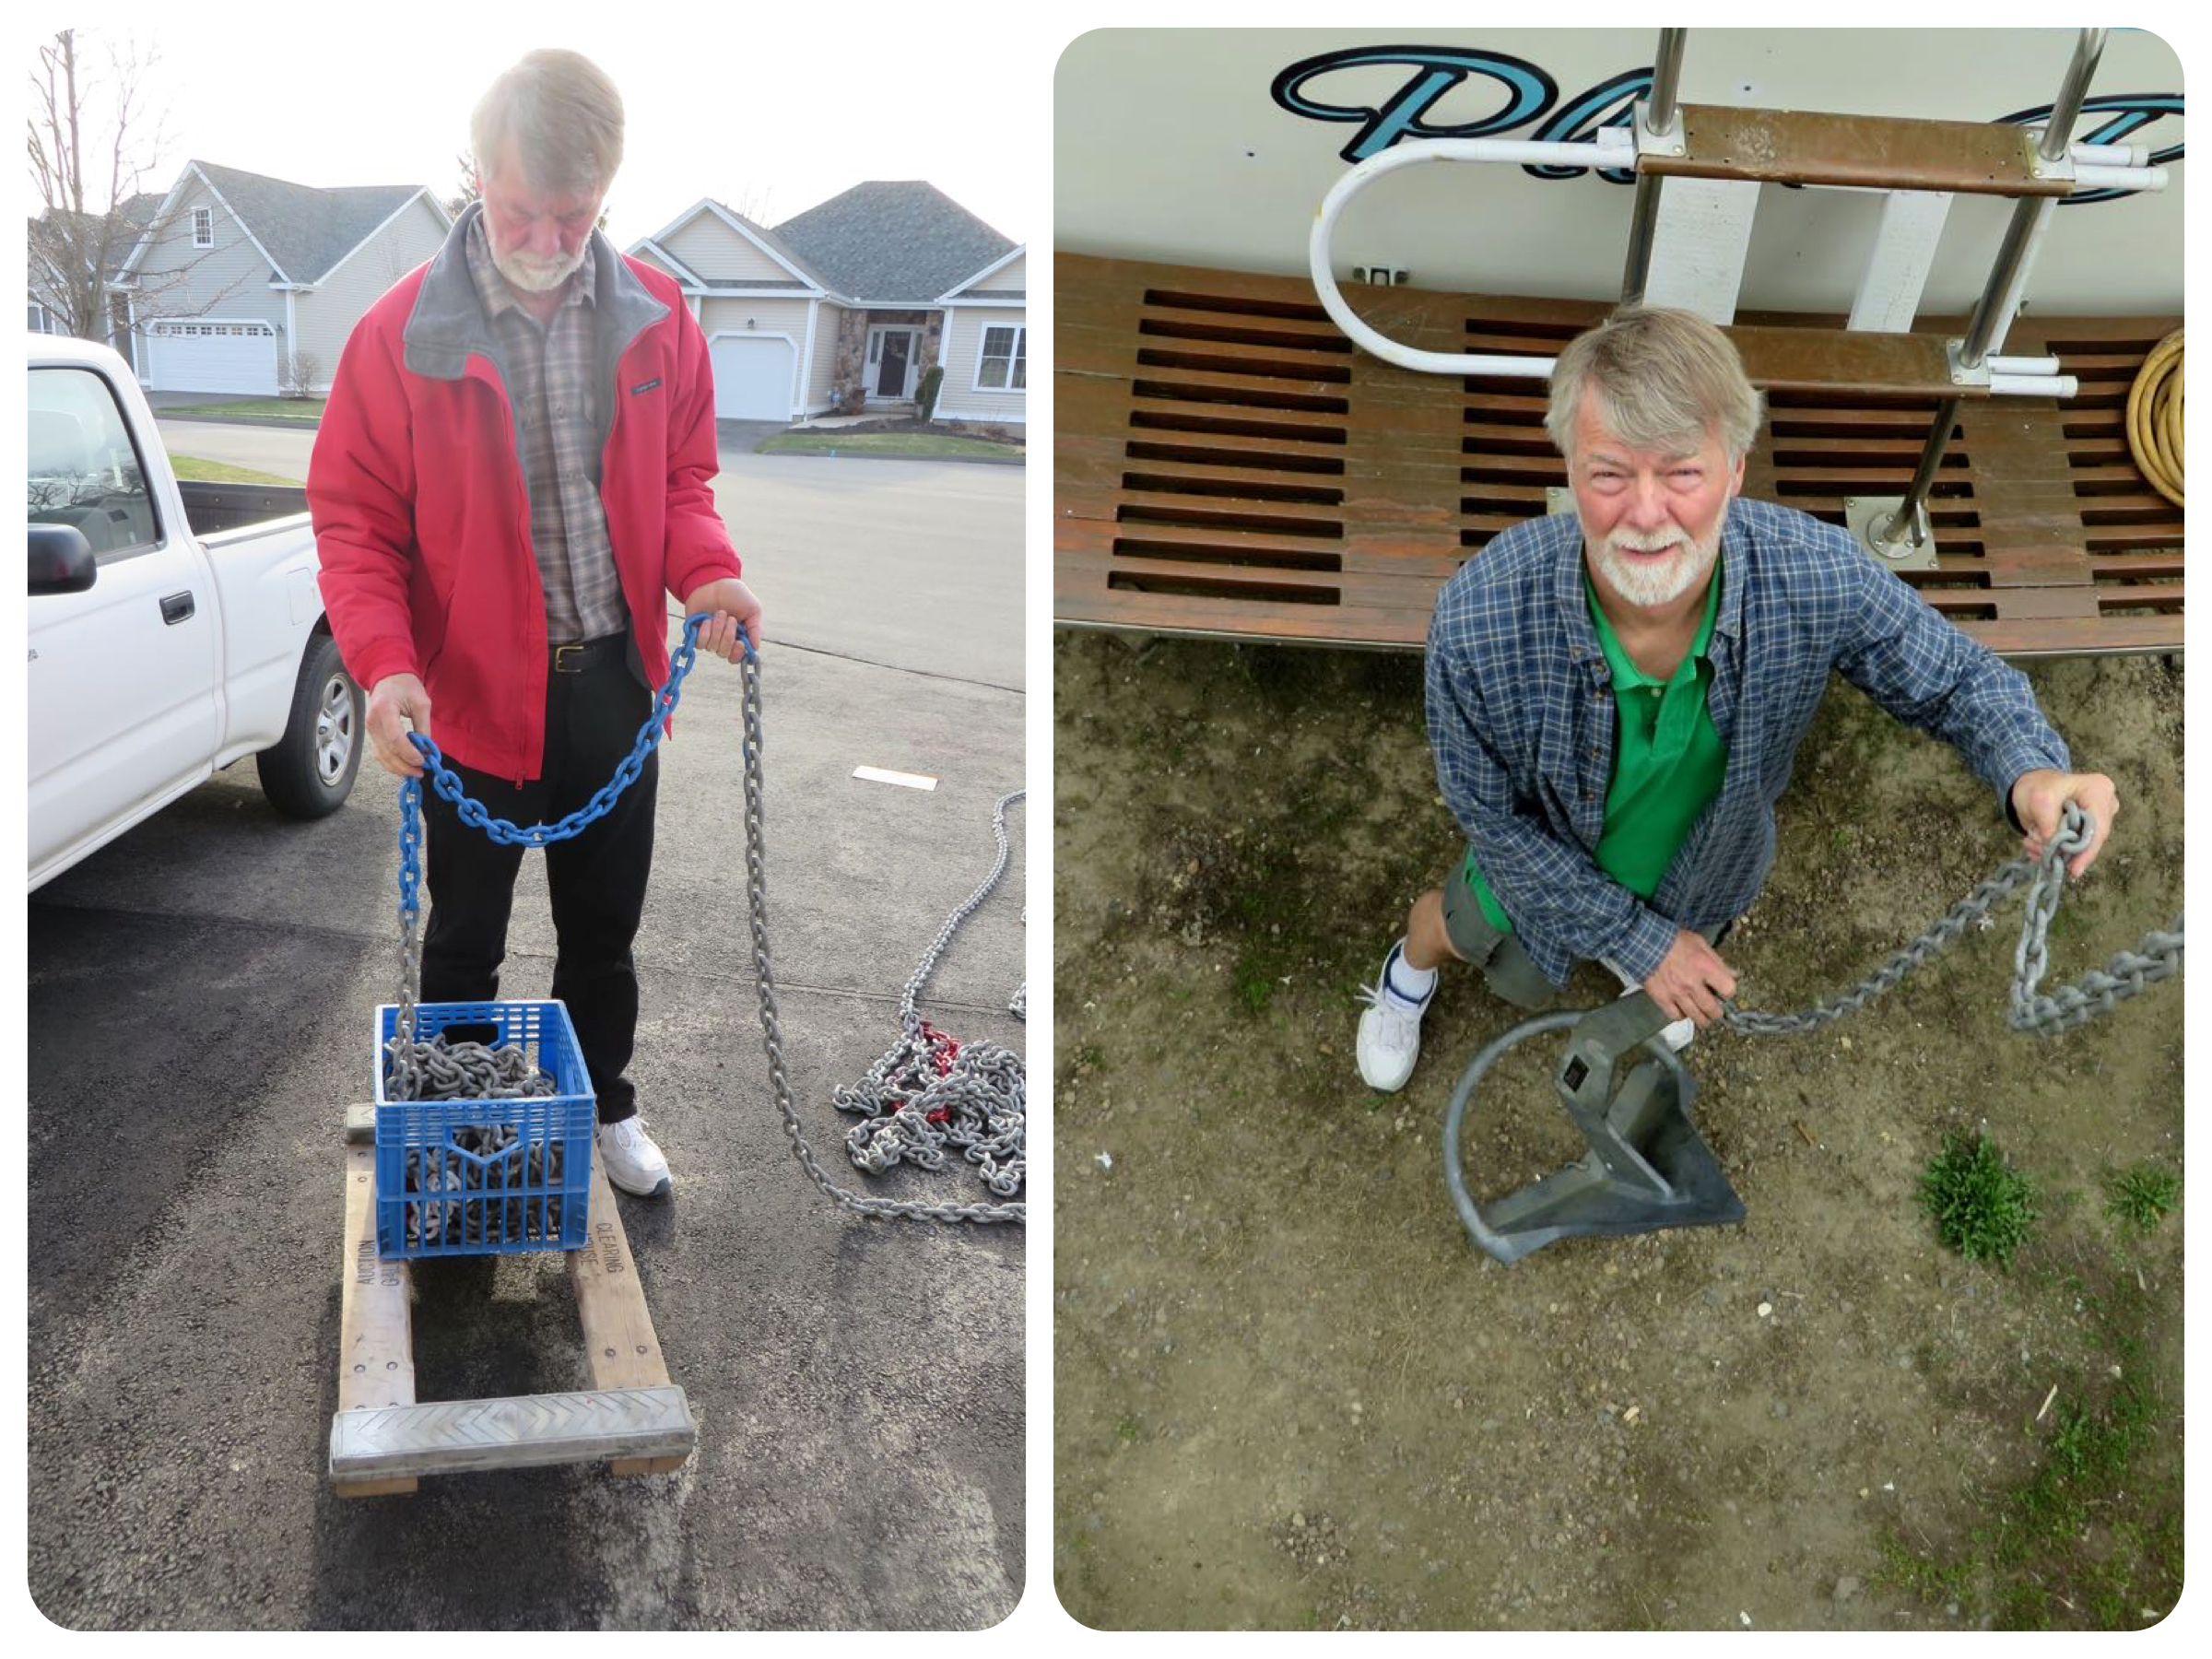
The 150 feet of chain weighed 247 pounds. With two helpers and one very strong Defenders dude, the anchor chain was loaded into the back of our little Subaru Impreza. Naturally, there were no Defender dudes around when we arrived back home.
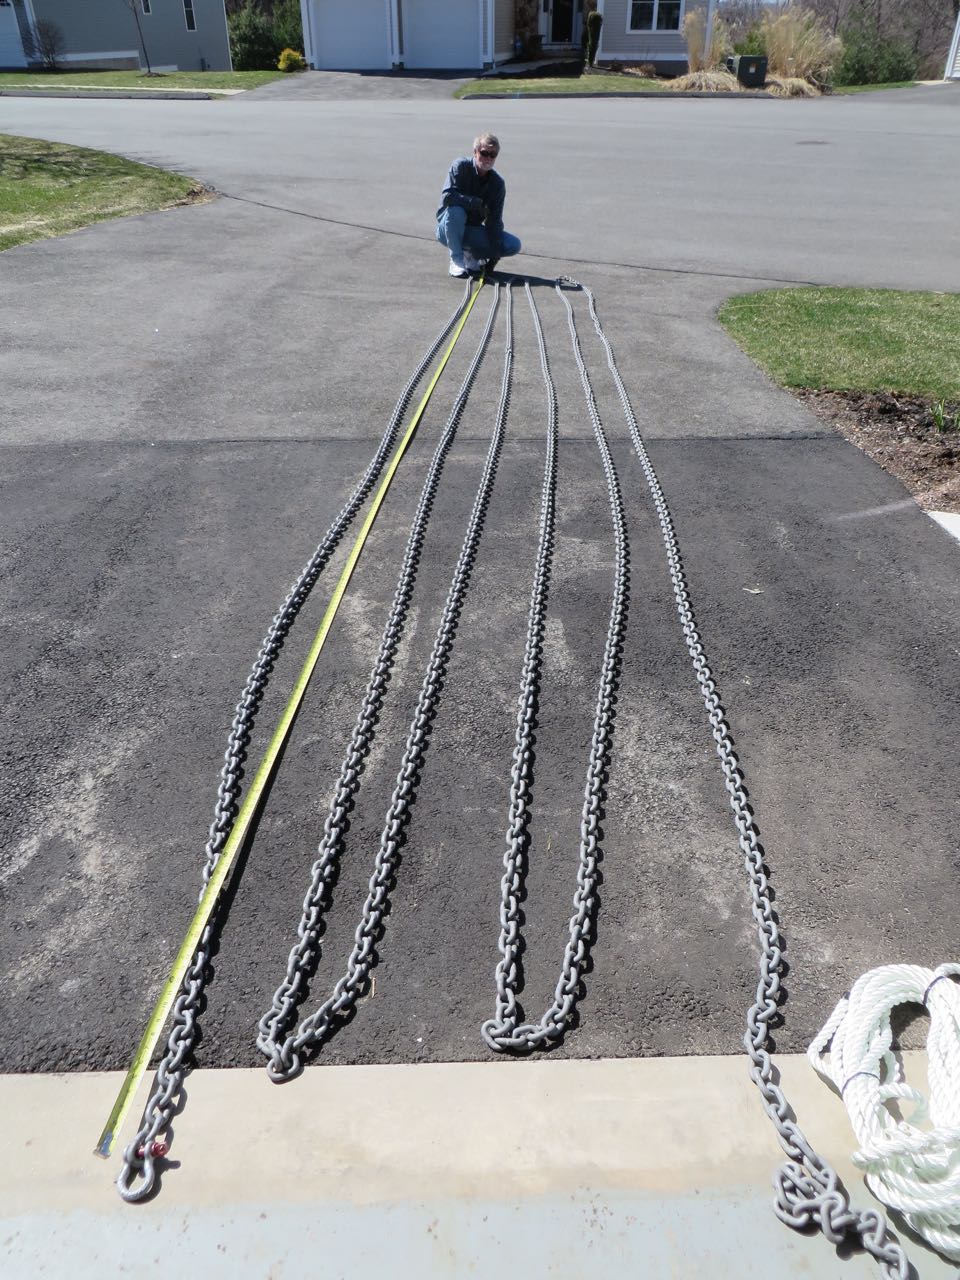
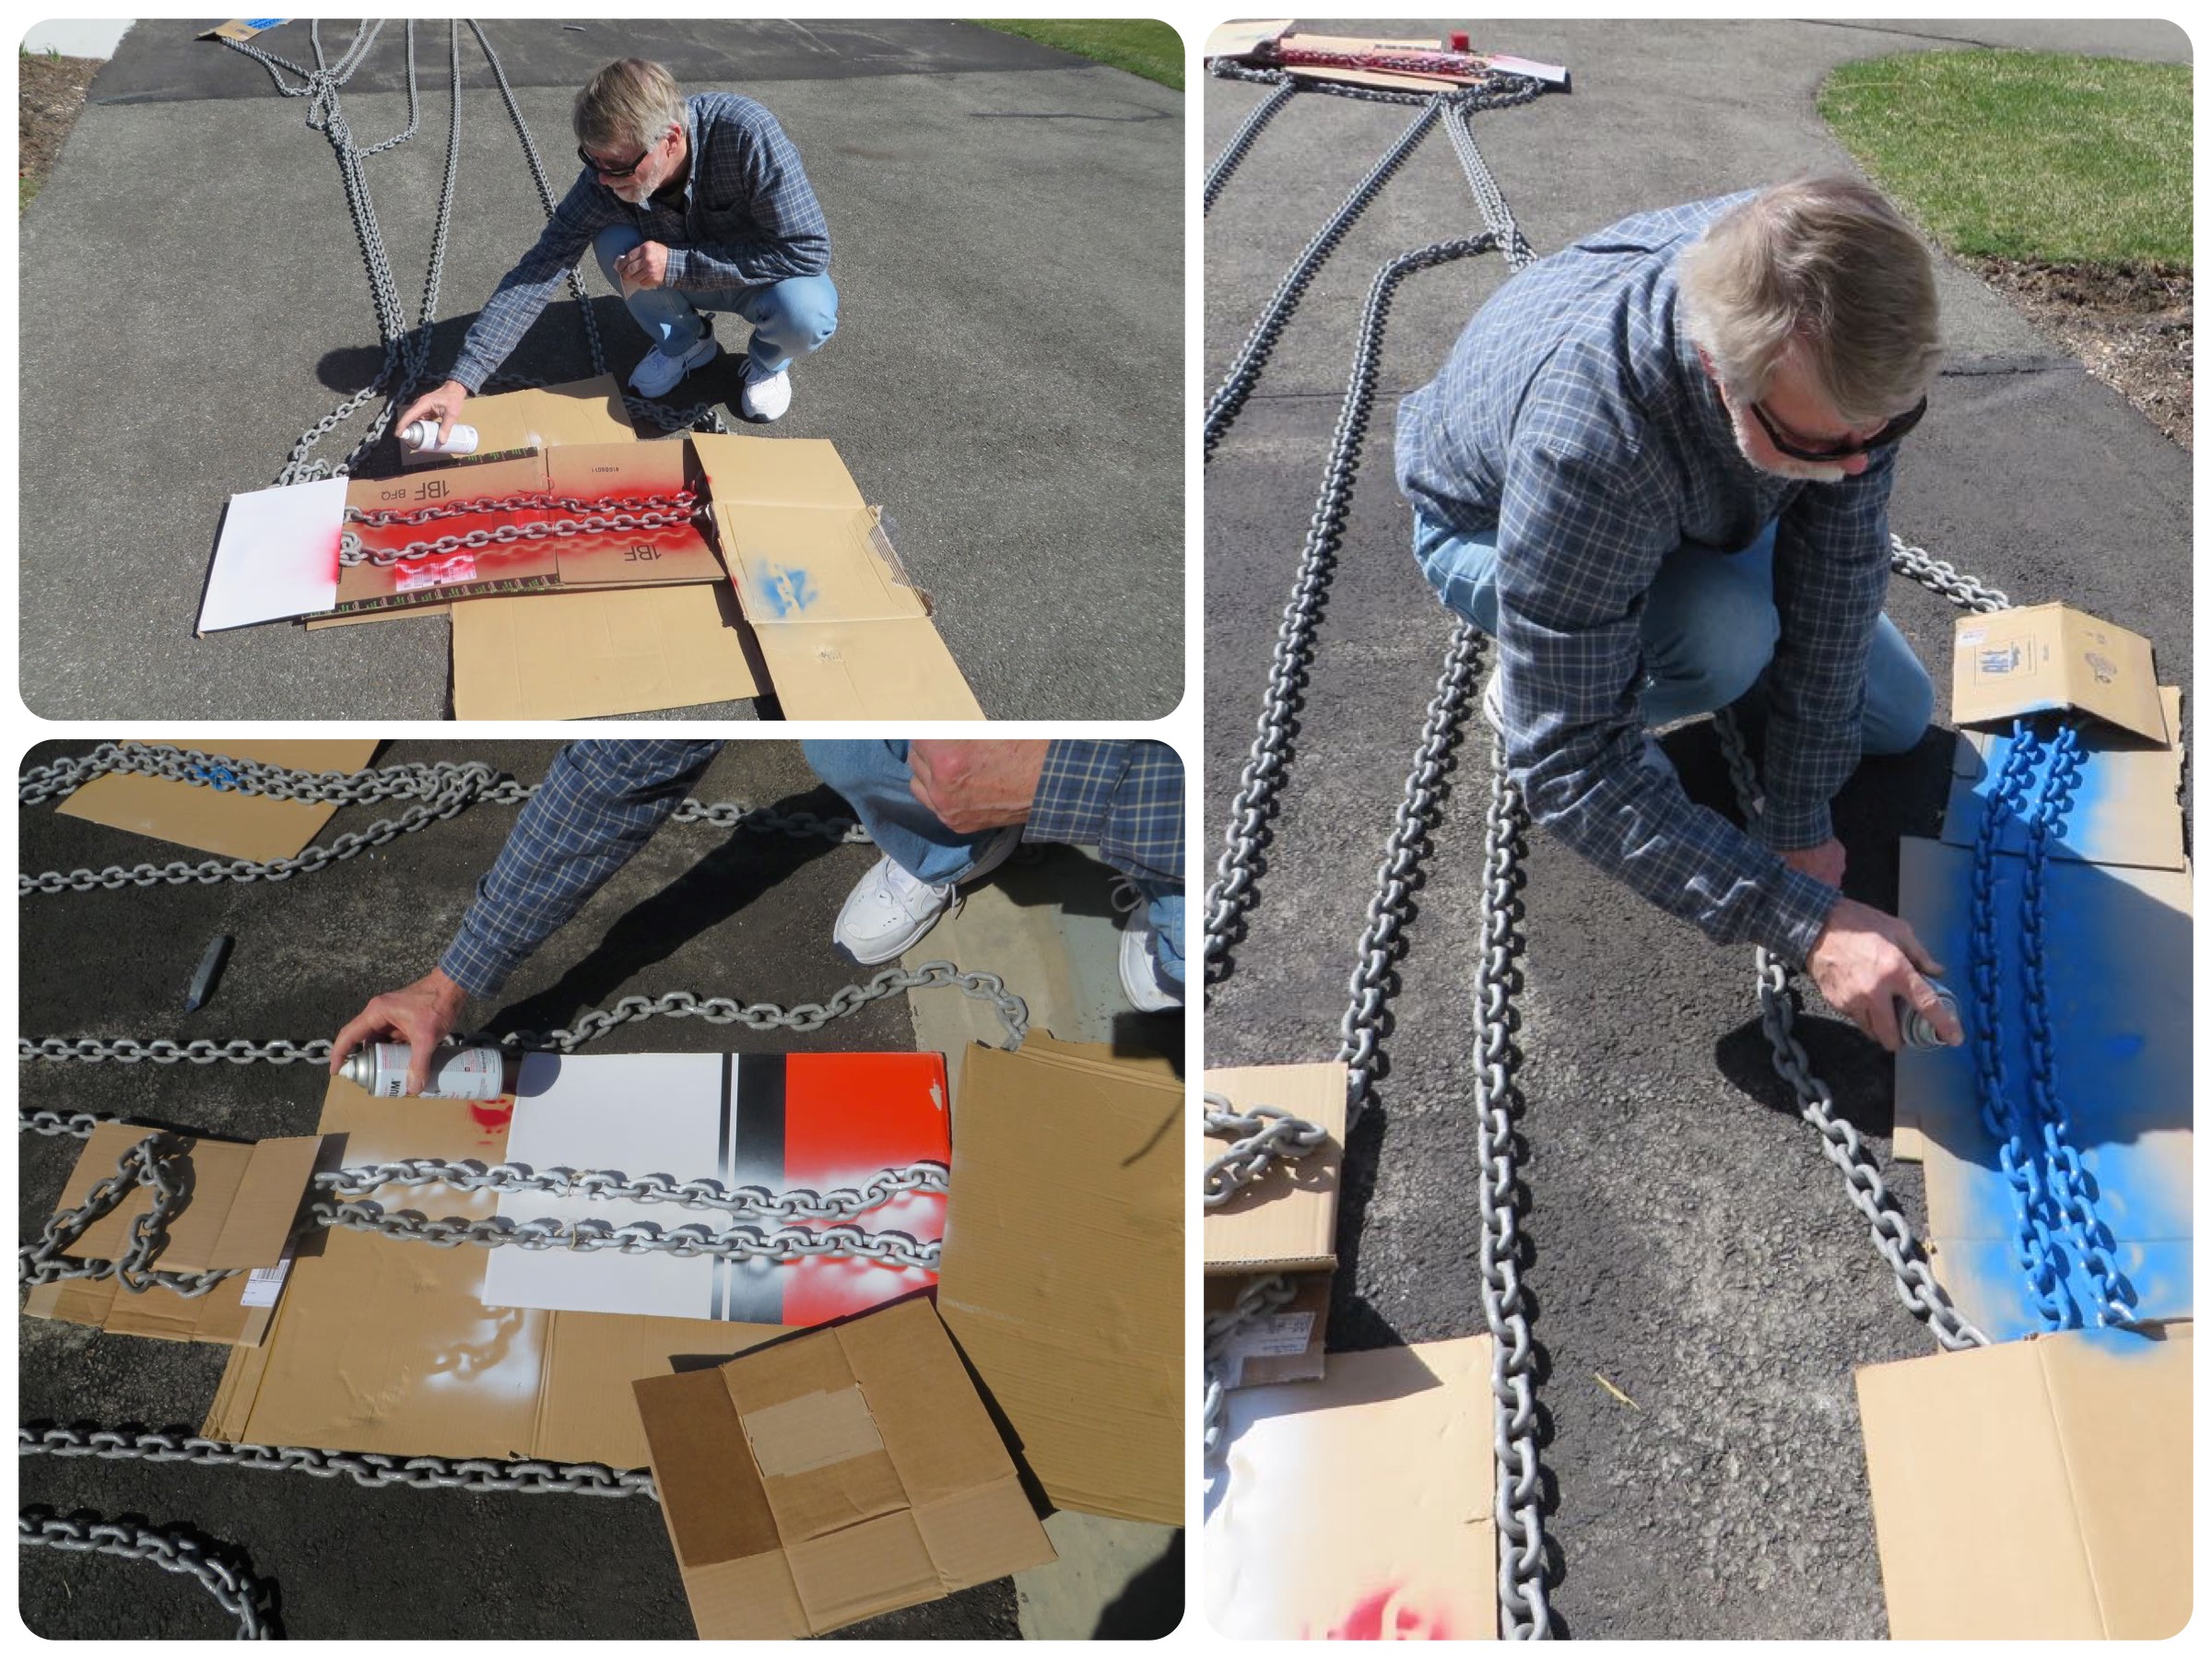
When anchoring, to avoid guessing and yelling about how many feet of chain you have let out, it’s a real good idea to mark the chain in specific lengths. You can buy special markers, make your own markers (we tried that for a few years) or paint your chain different colors at specific lengths. Some people tie a different number of small lines or wire tires at intervals, but we found they can tangle in the chain or hold dirt. Others use a specific color scheme and paint the links. I read about an interesting color sequence – every 25 feet change colors, red, yellow, blue, white, orange, and remember it with “Rub Your Body With Oil.” Really? Anyway, about ten years ago we settled on a system that has worked for us without any problems. We paint the chain at intervals of red, white, and blue, in that order, changing color every 25 feet. We use good, bright paint which is easily visible without confusion and it lasts for years. The bonus is that we never forget the order of red, white, and blue. Easy-peasy, as the first graders say.
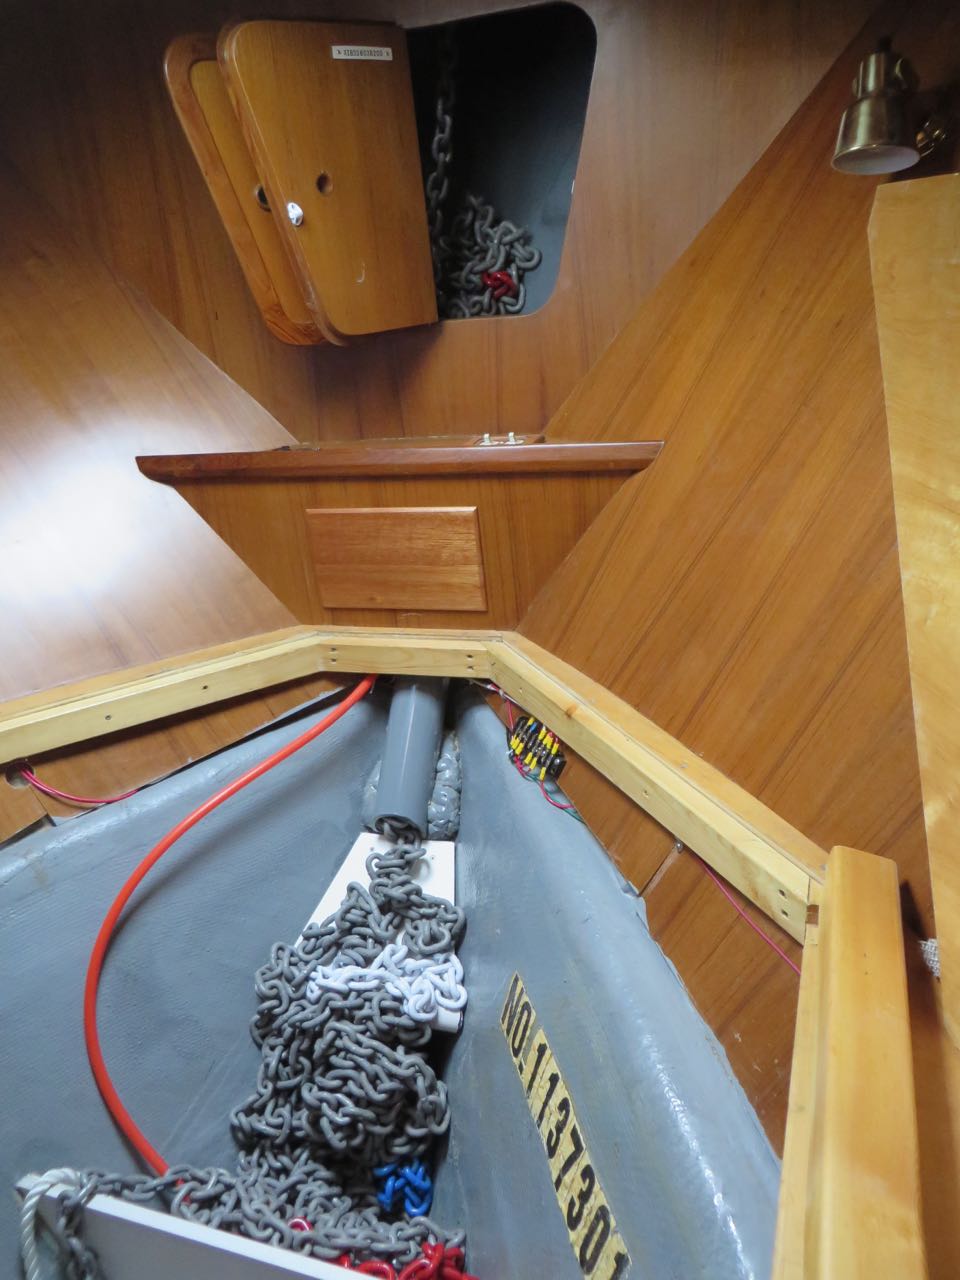
To prepare for the new 150 feet of chain, Al rebuilt the anchor locker which is behind the little doors just beyond our heads where we sleep ( in the bow, but not in our bed!) He added a tube so that the chain follows down in and under the v-berth, forming a pathway to send chain from the old anchor locker down into the space under the bed. The old locker was not large enough to hold both 150 feet of chain and additional line. It will now also accommodate a second anchor set-up.

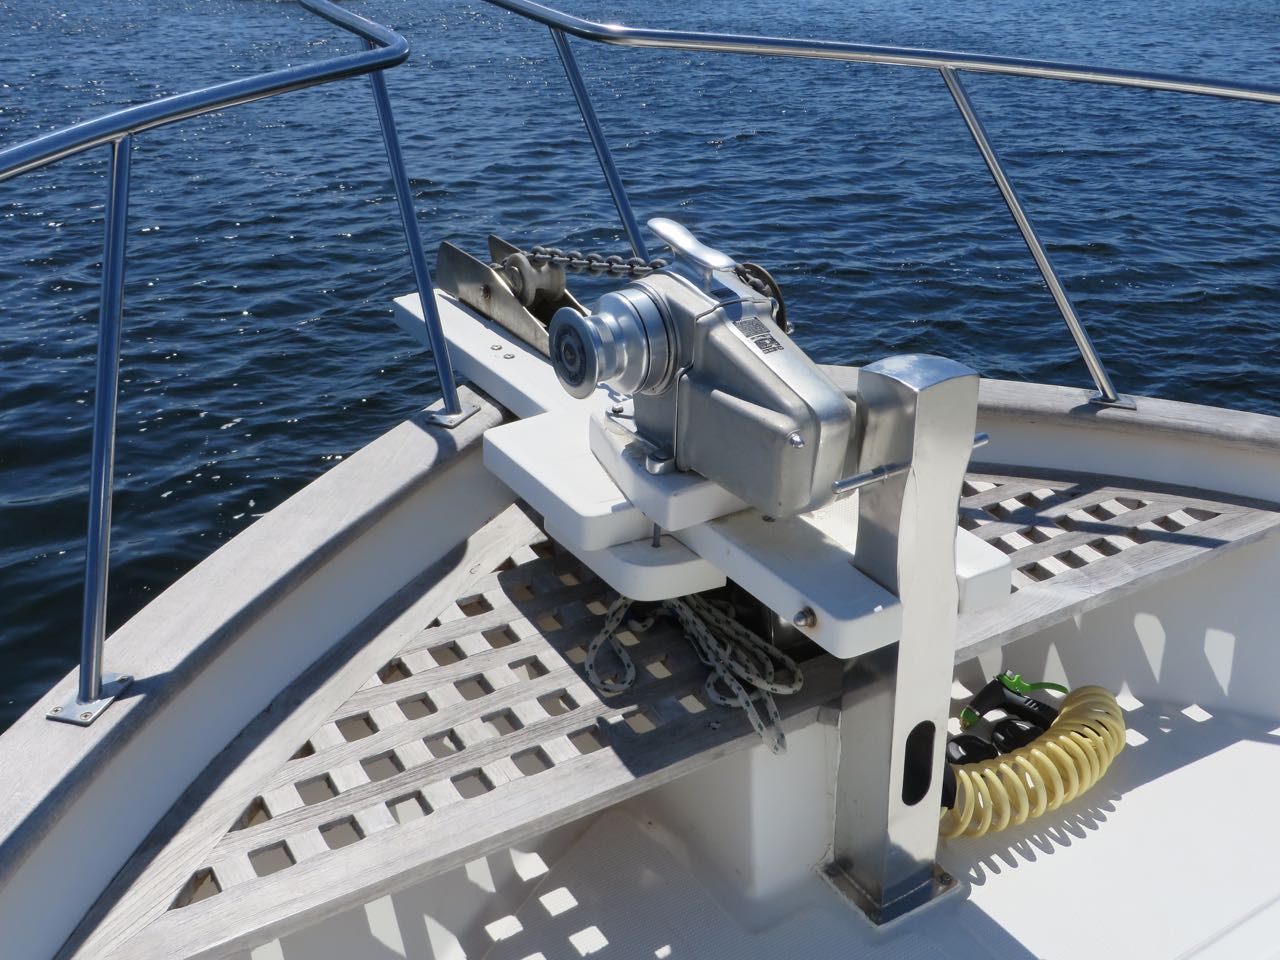
Terrific! Now we can sleep at night while at anchor, at least most of the time. But a new problem arose (remember that Law of Boat Projects?) The windlass on the Mariner was not impressive, only a 900-watt Simpson. Al worried that it would not be strong enough to haul all of the chain and Rocna. With patience and determination he searched eBay and Craig’s List, and acquired a Lofrans like our Morgan’s, but a little bigger. And a good deal.
Up, Up on the Flybridge: A flybridge is a new experience for a sailor, and we will readily admit that it is an awesome place! Great views, nice air, and a lot of space. But this flybridge needed some work.
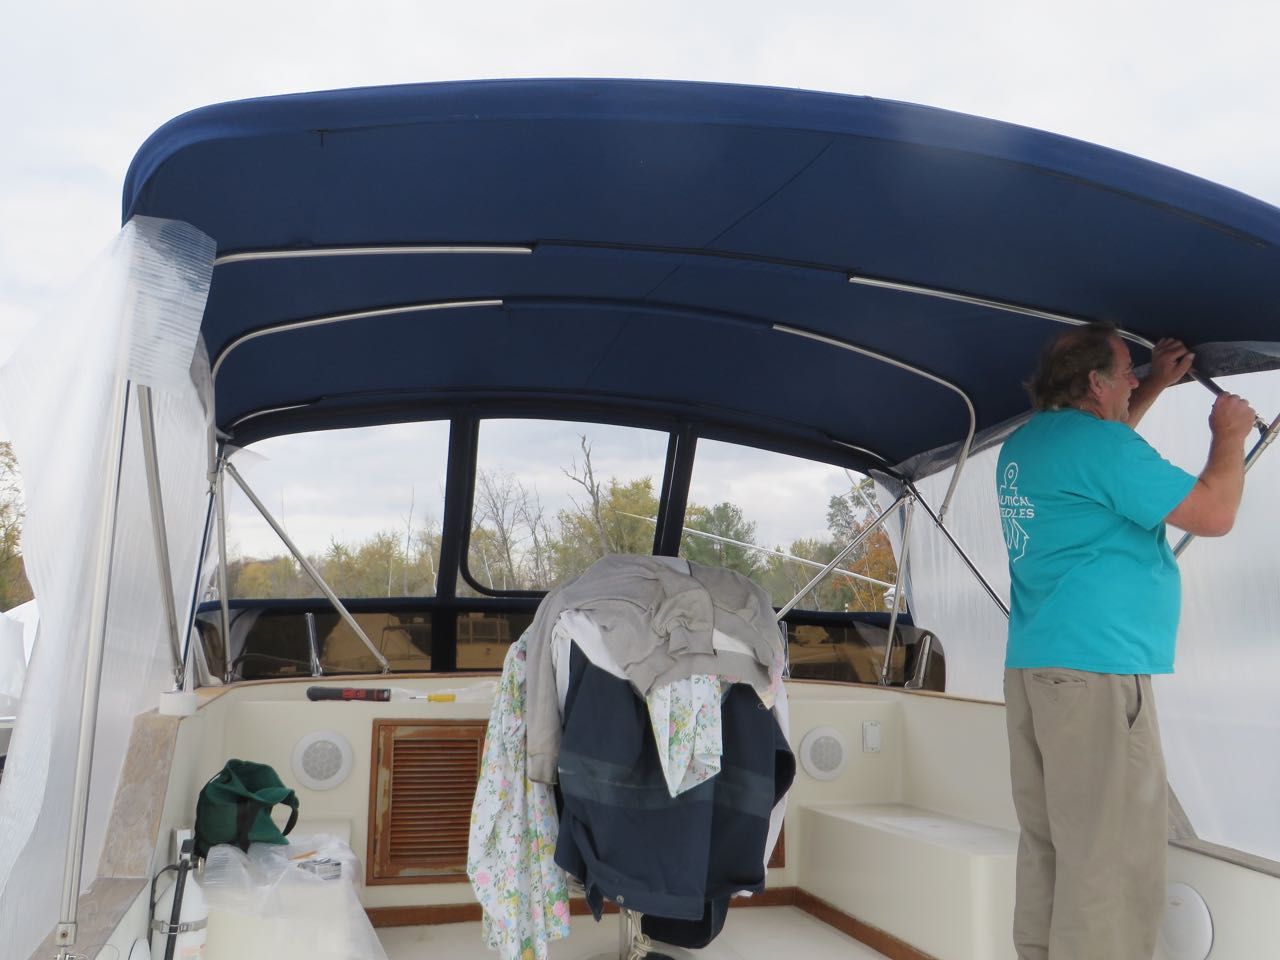
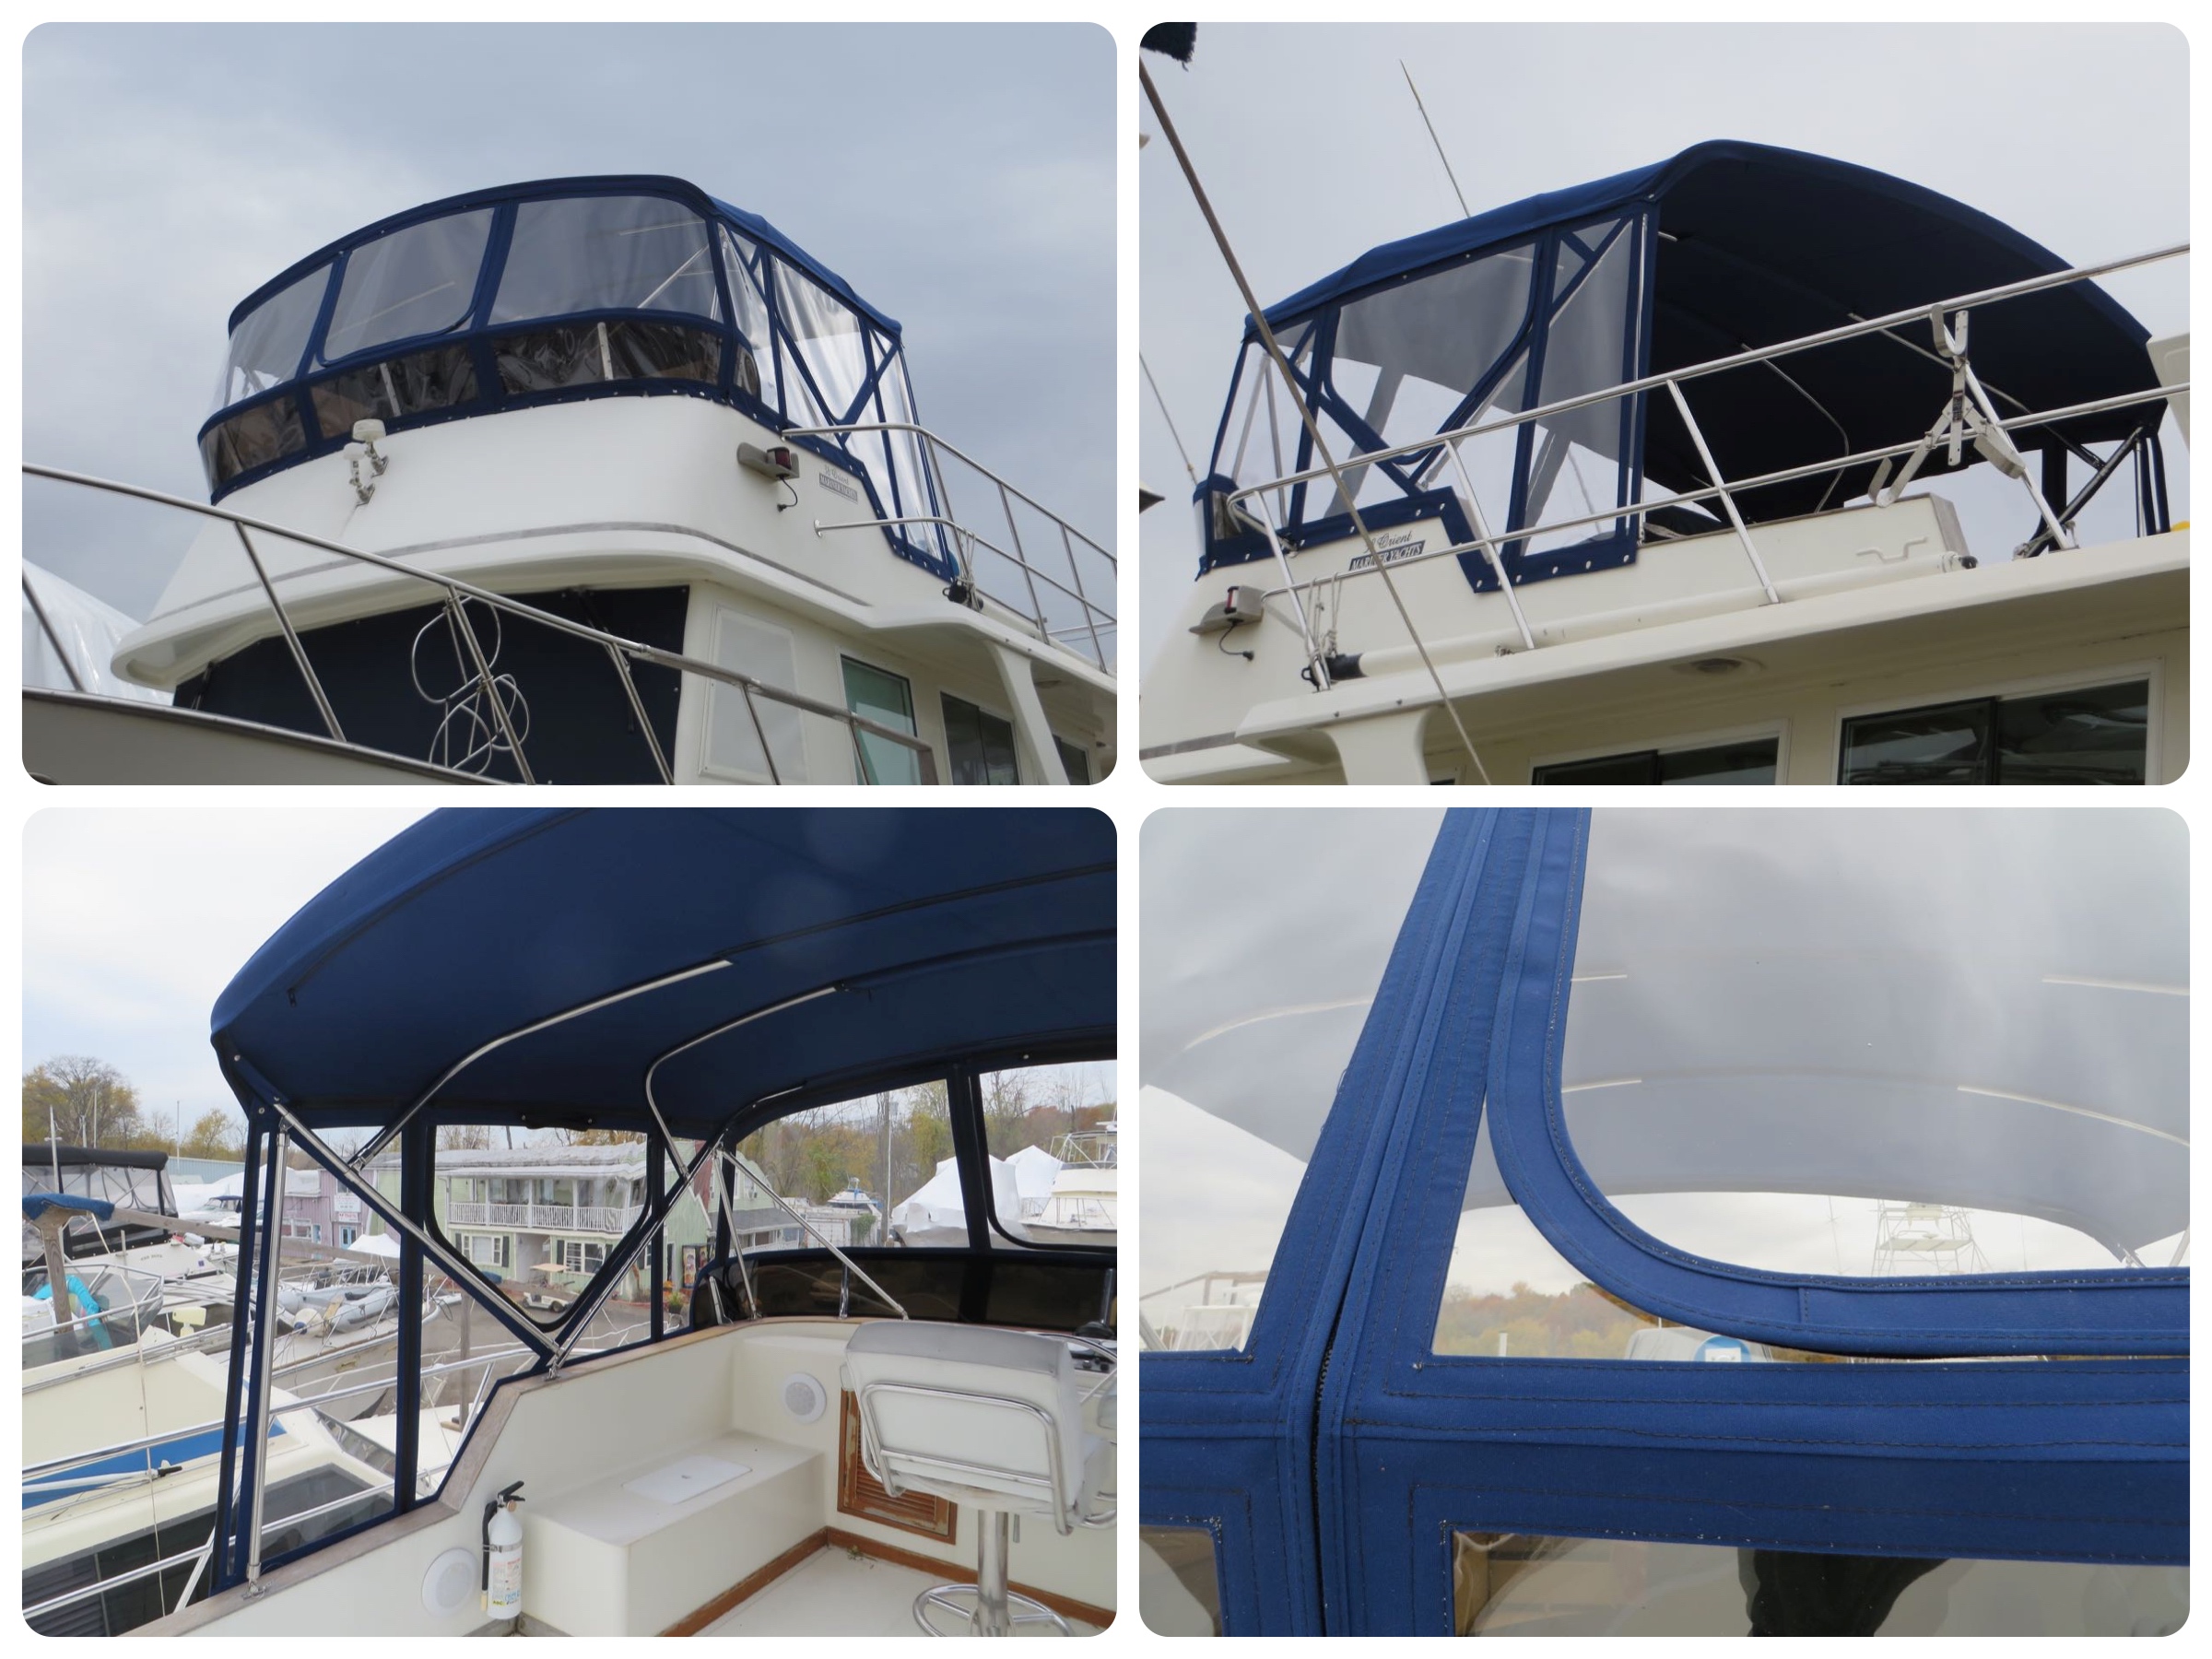
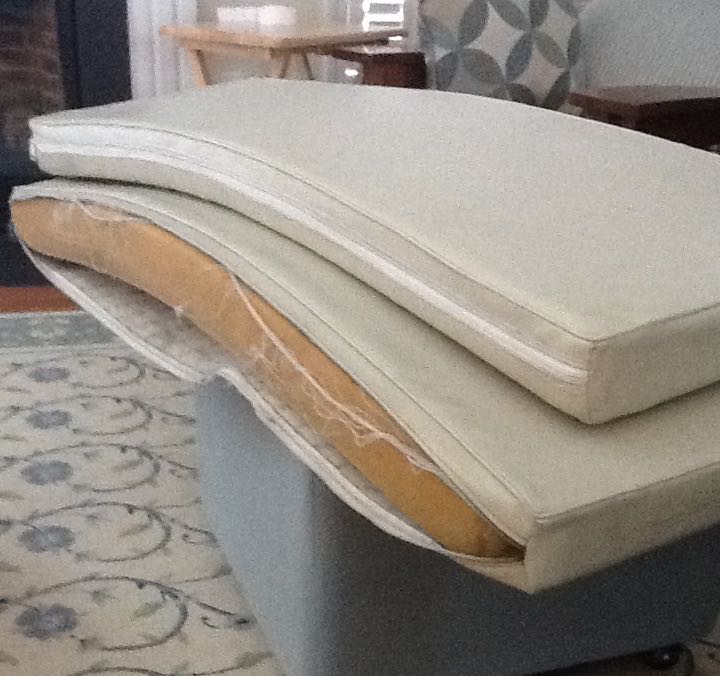
The bimini was in poor shape, thinning and ripped, and had no side curtains. We had an incredible hardtop and enclosure on our Morgan, which allowed us to use the cockpit as living space as well as comfortably navigate underway in lousy weather. We needed a good bimini on this boat! Our first discussion was “what color?” We didn’t really agree at first. Left on my own, I might have gone with yellow canvas. 😉 Think of it this way — you need to give someone directions to your boat in a harbor filled with many boats that pretty much all look alike except for the distinguishing mark of a mast, or no mast. What do you say? “The white boat with the blue canvas?” Sure, that distinguishes it. I thought yellow was a great solution to a common problem, but the captain did not agree. Fortunately, blue is my favorite color, and blue it would be. But what blue? I did not want a navy that looked like black and Al did not want a blue that would be too bright. We decided on classic navy. Ahhh, problem solved? Not yet! There are many shades of blue and quite a few variations of navy…………

We settled on the little piece on the left. The original is the very, very dark navy underneath the swatches.
We chose Nautical Needles in Westbrook, CT to make the bimini with side curtains for protection. They had done the work on the Morgan and we were happy with it.
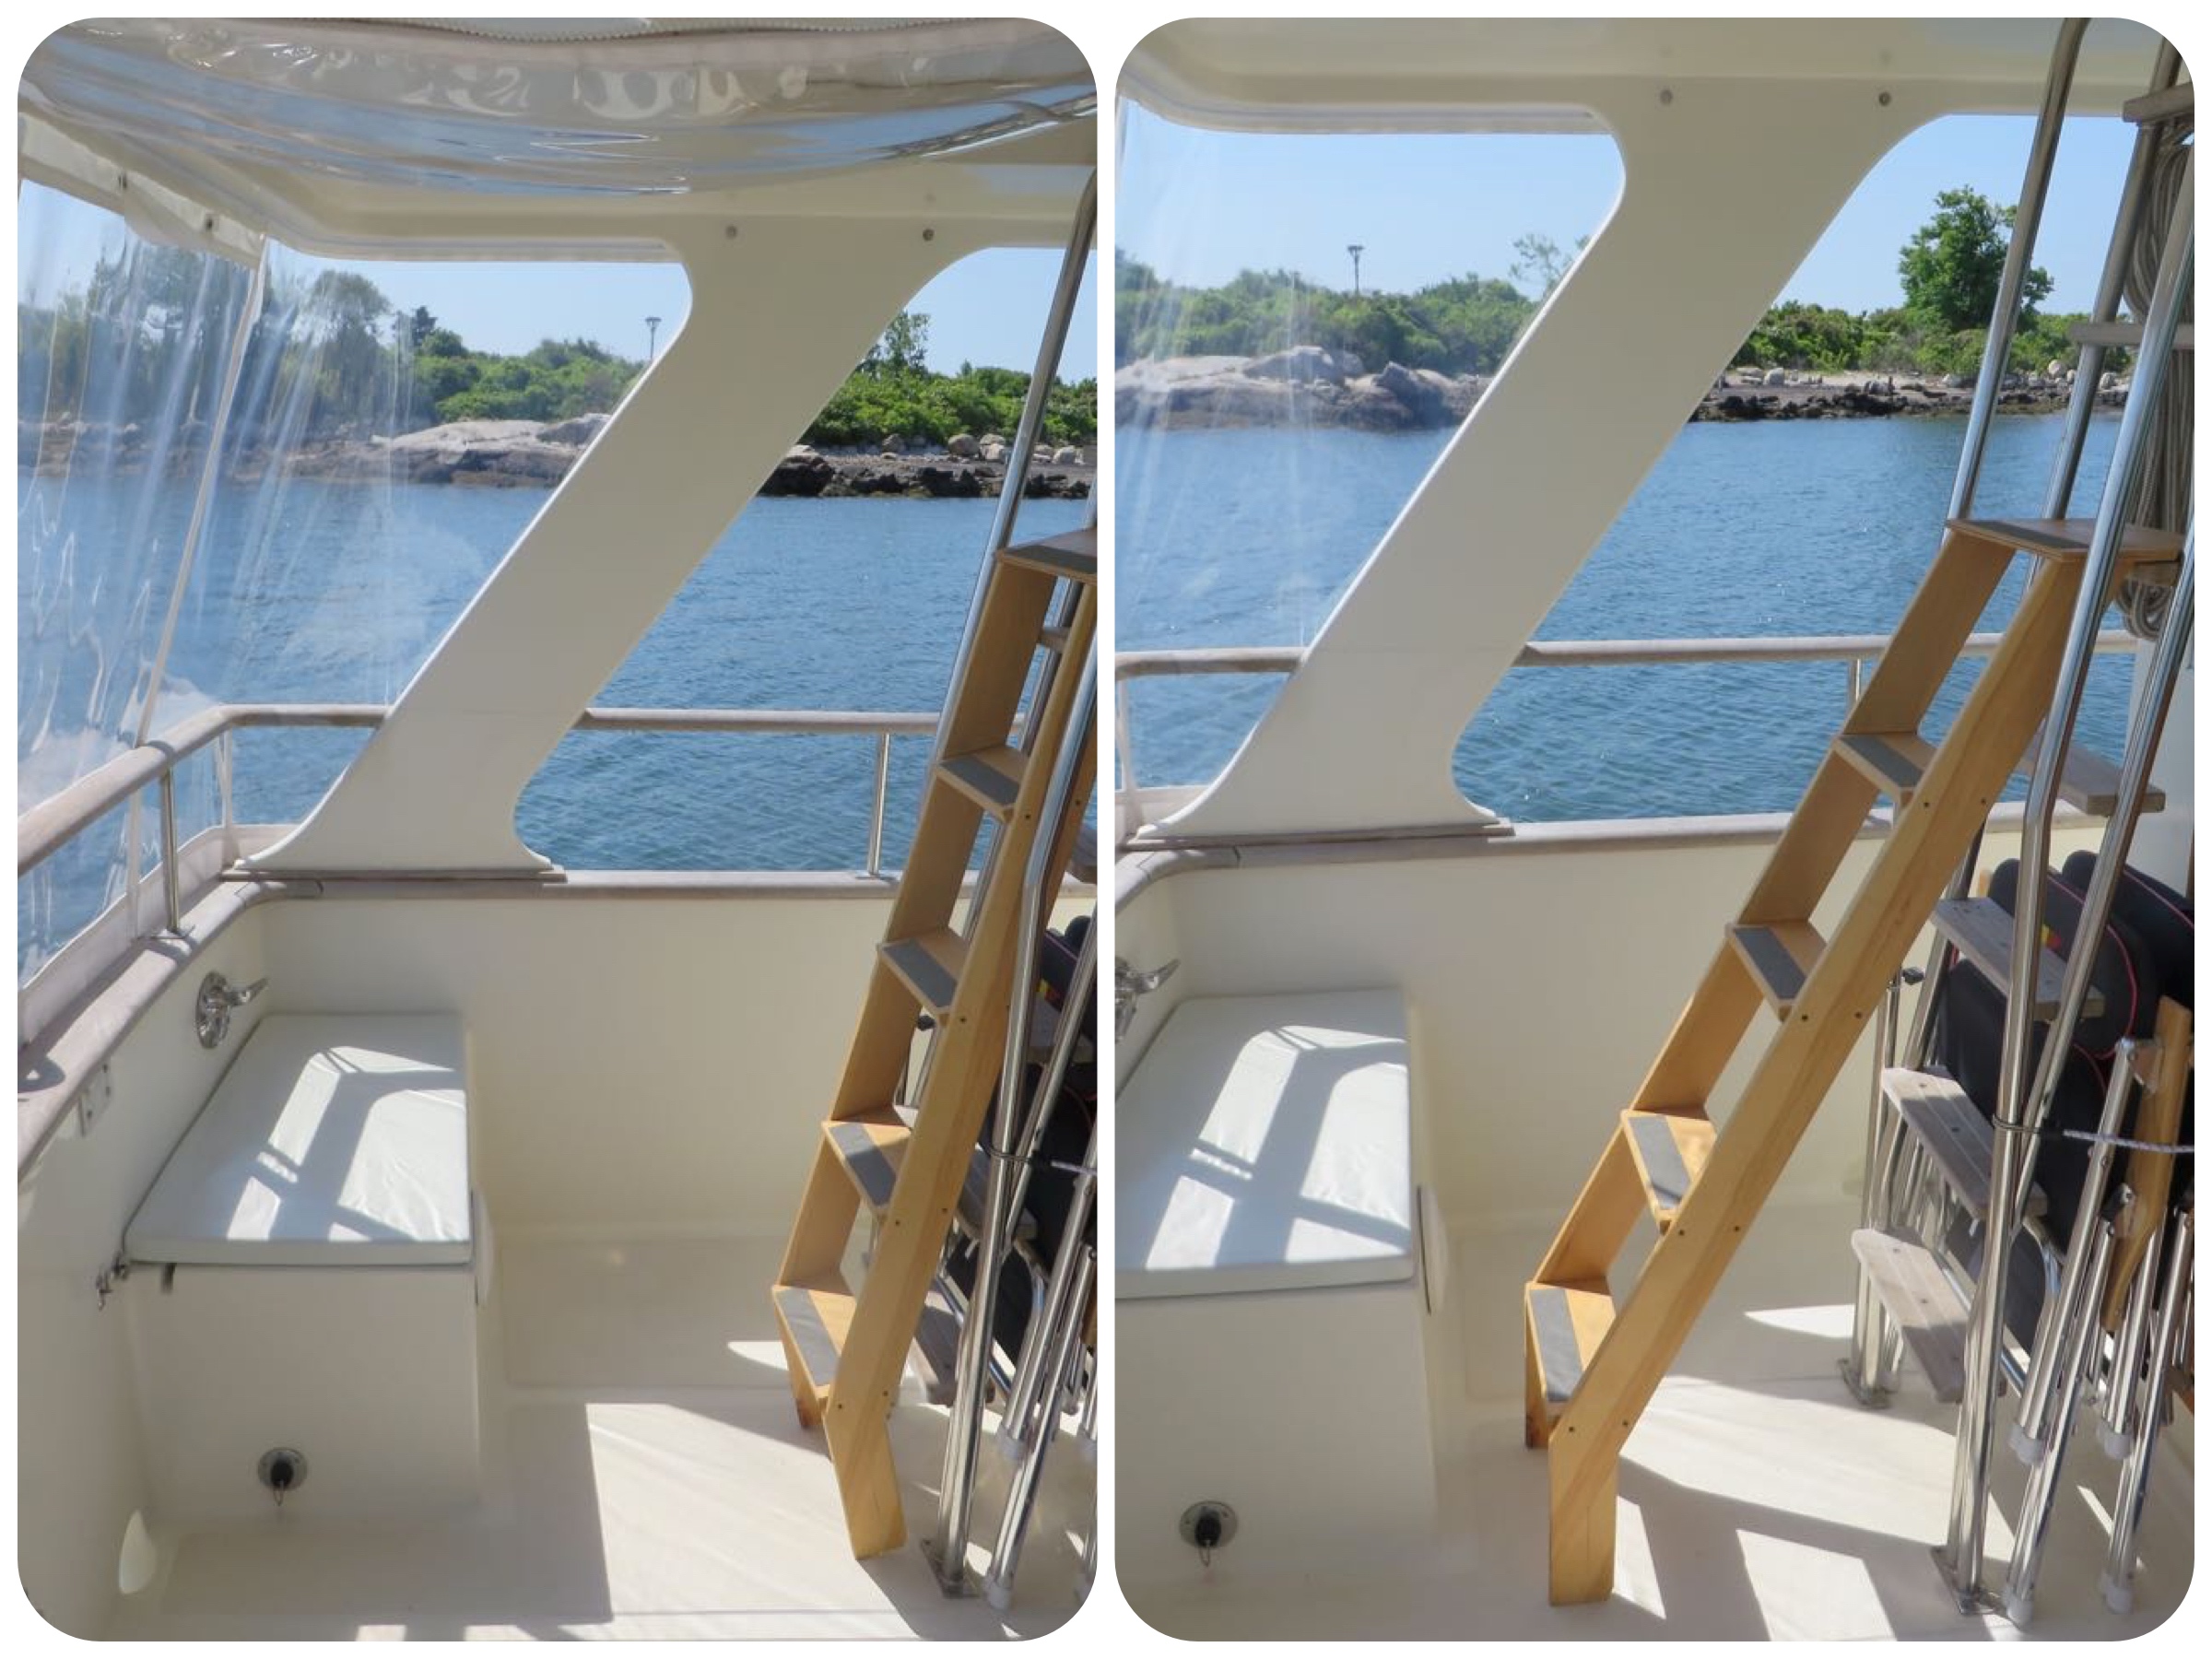
On the 7-day trip from Annapolis to Connecticut last summer, we struggled with the seating on the flybridge. The helm seat was for a single person with two cushioned benches on each side that sat lower. While underway, the person not steering had to sit on a side bench.
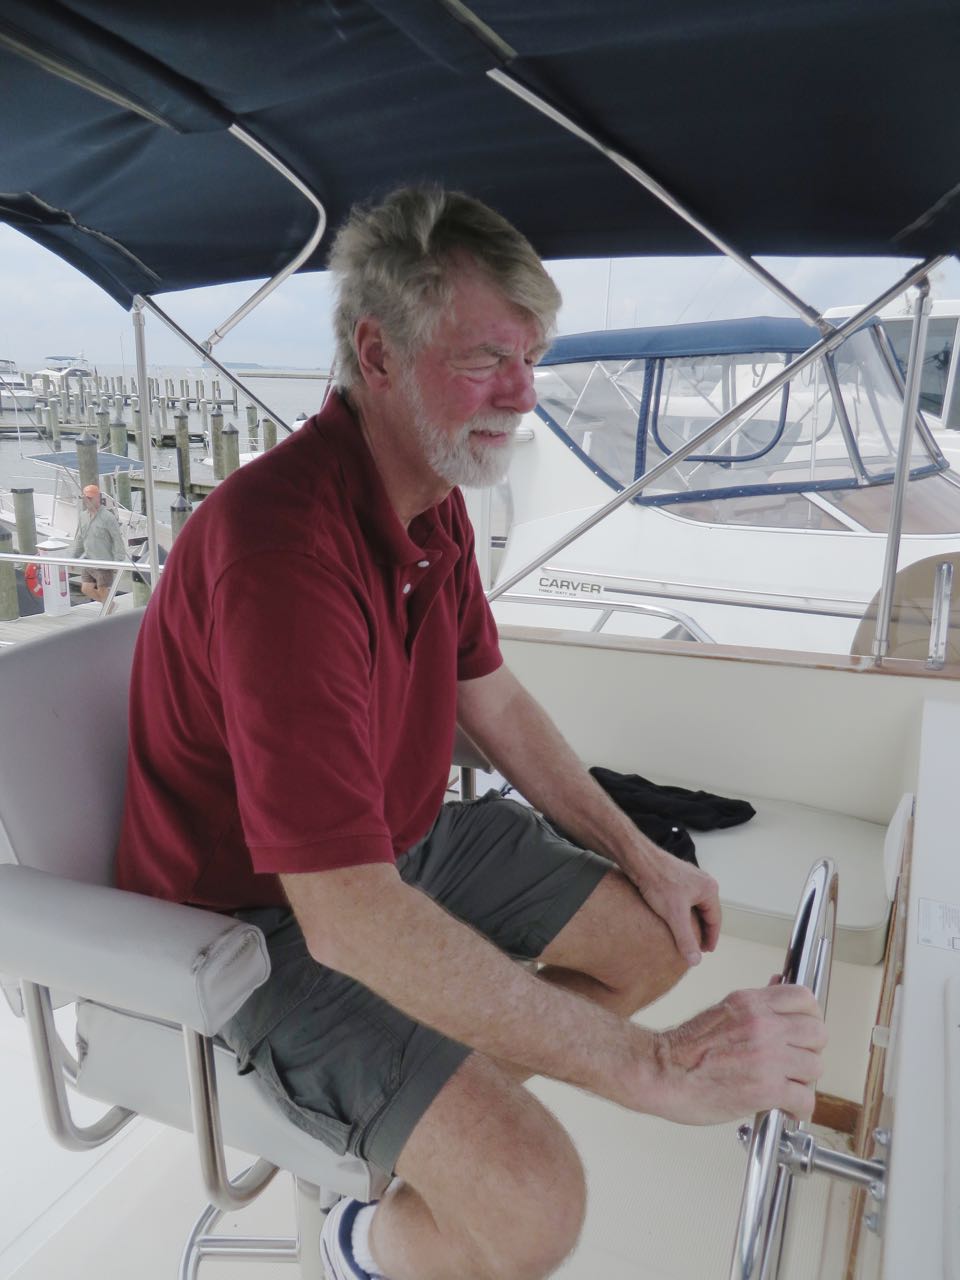
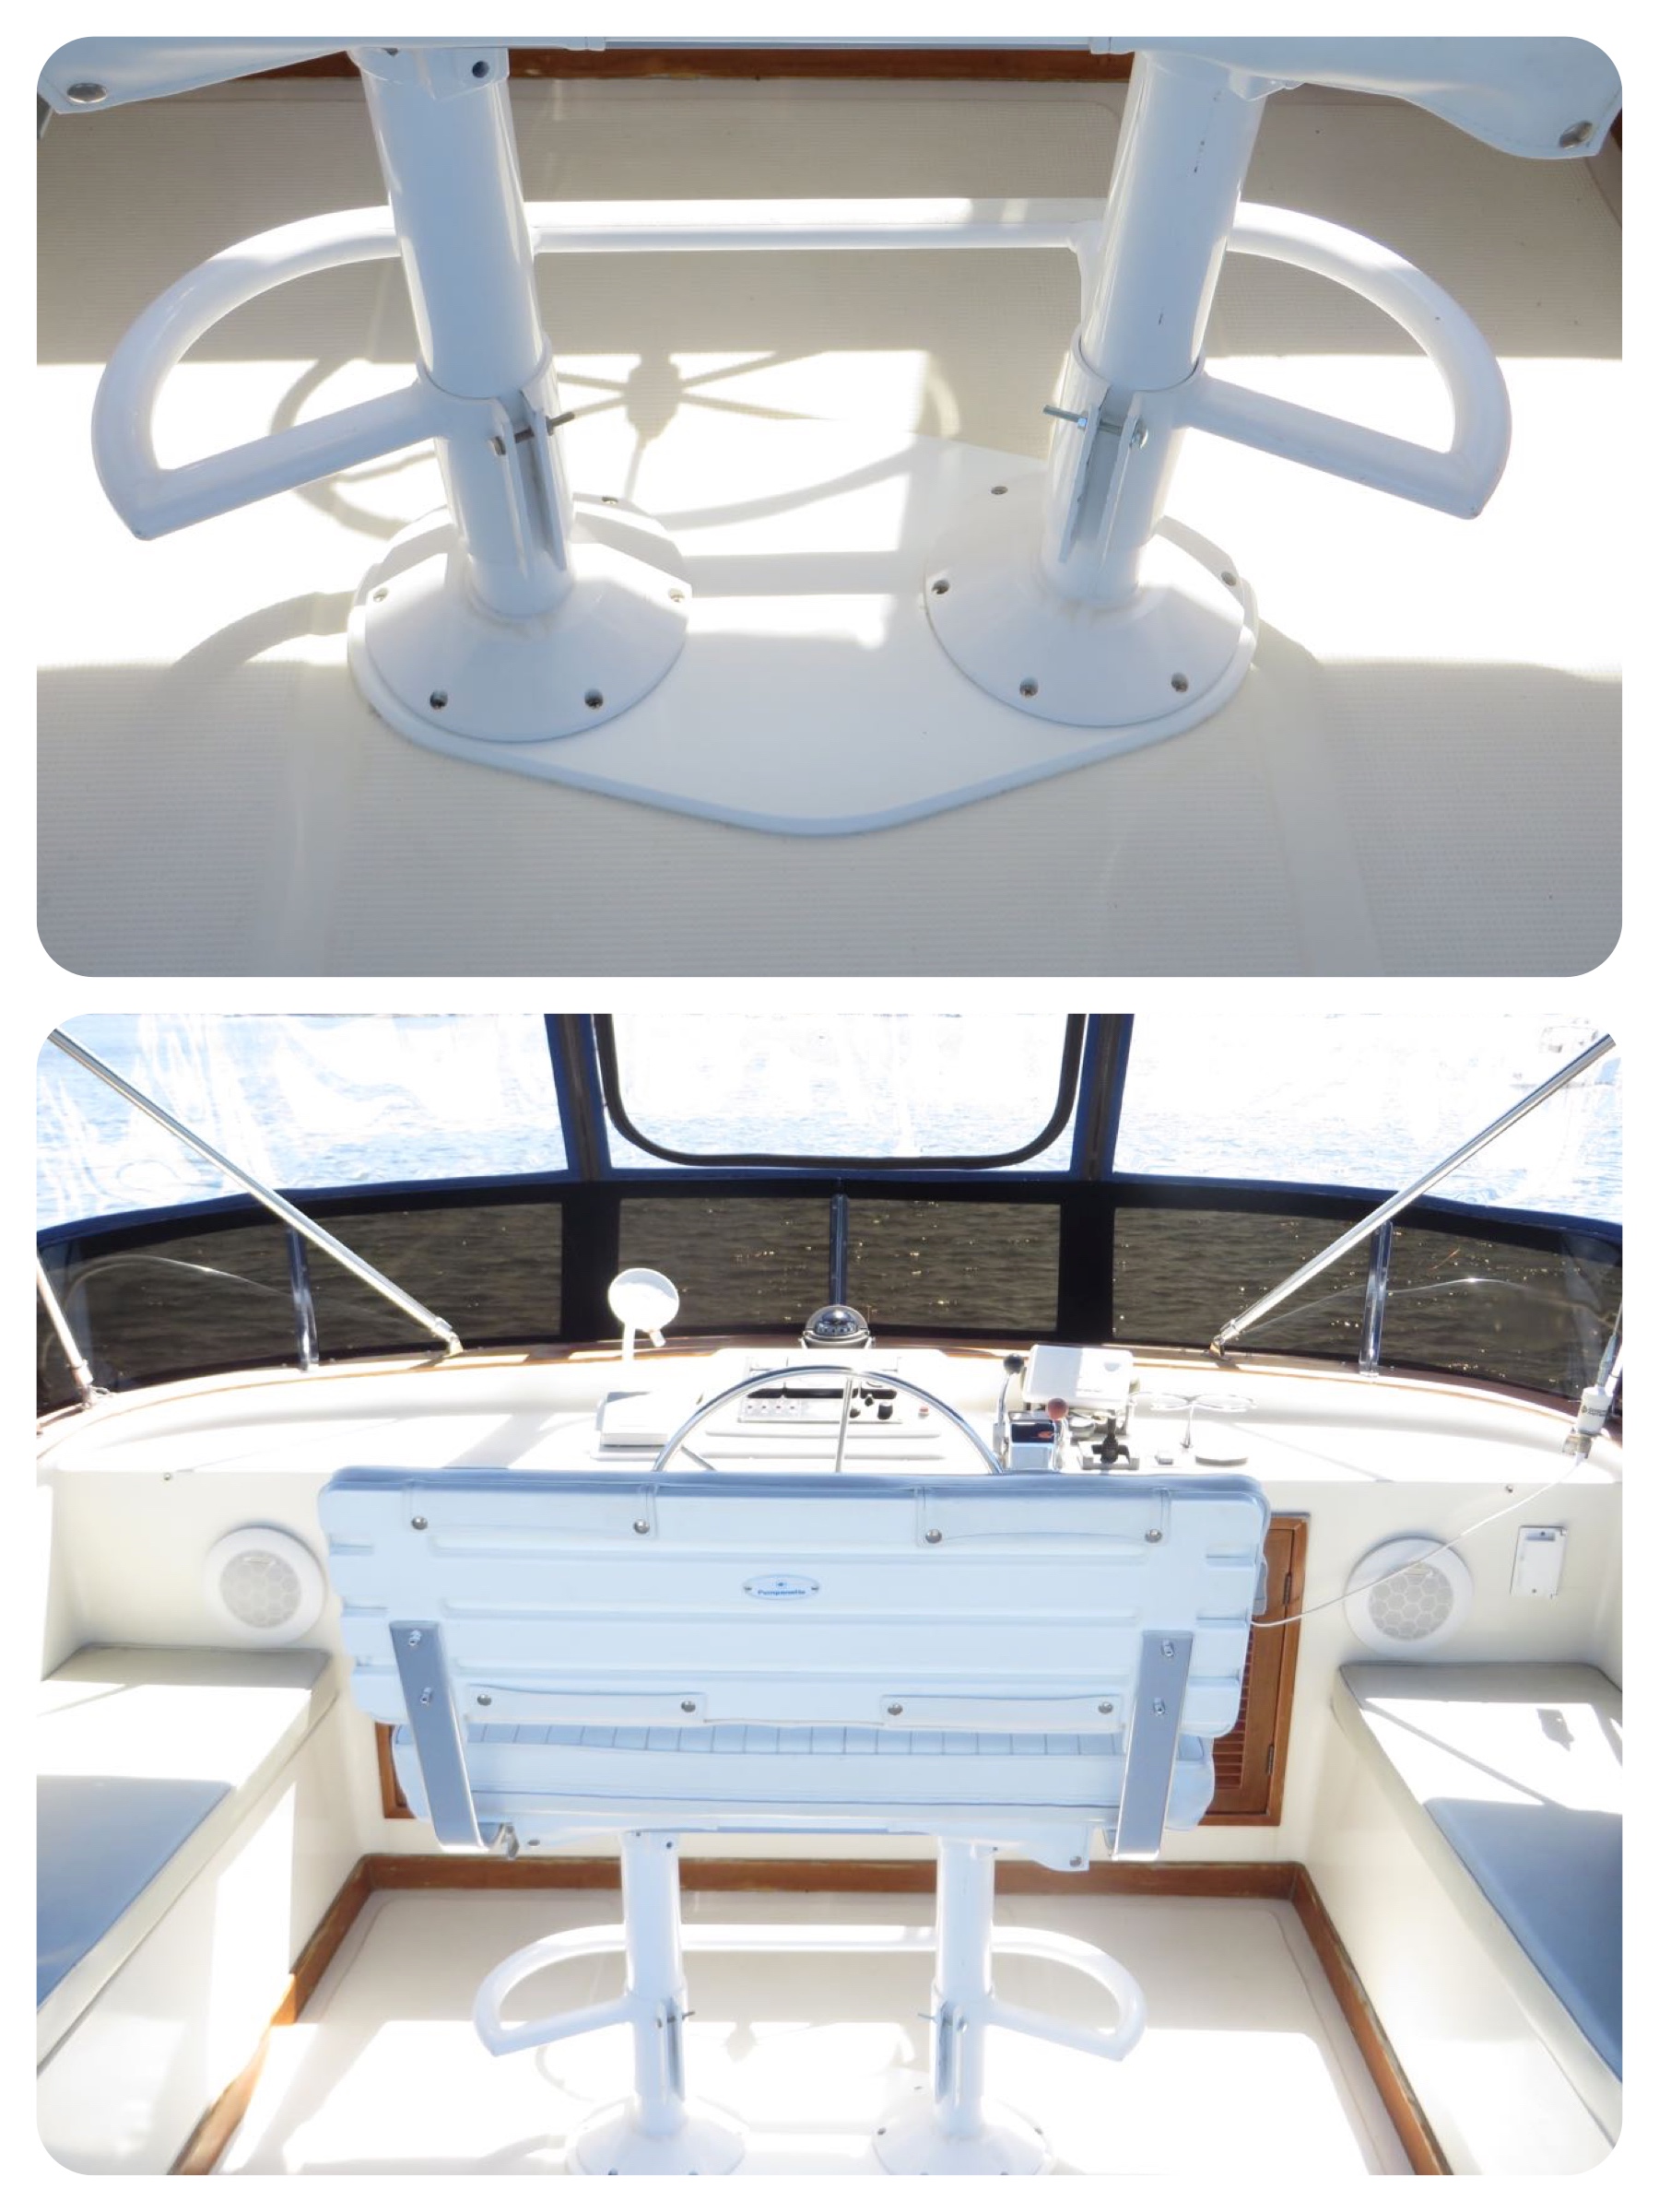
We usually navigate together and both look out, but the side bench seating wasn’t really comfortable for that and did not give me (or anyone else) good visibility for navigating. I tried a folding chair looking forward, but I still couldn’t see over the helm and be of any use. All winter long, Al pondered this dilemma. What to do? Replace the single helm seat with two helm seats? Would they fit side by side? Look for a bench seat? Once again, he continually searched eBay and Craig’s List for possible options. Finally, a two-person helm seat appeared that looked suitable for our needs, used, but in good condition. Another deal!! Al made a base from starboard to cover the old indention for the single pedestal and then secured the double pedestal to the floor.

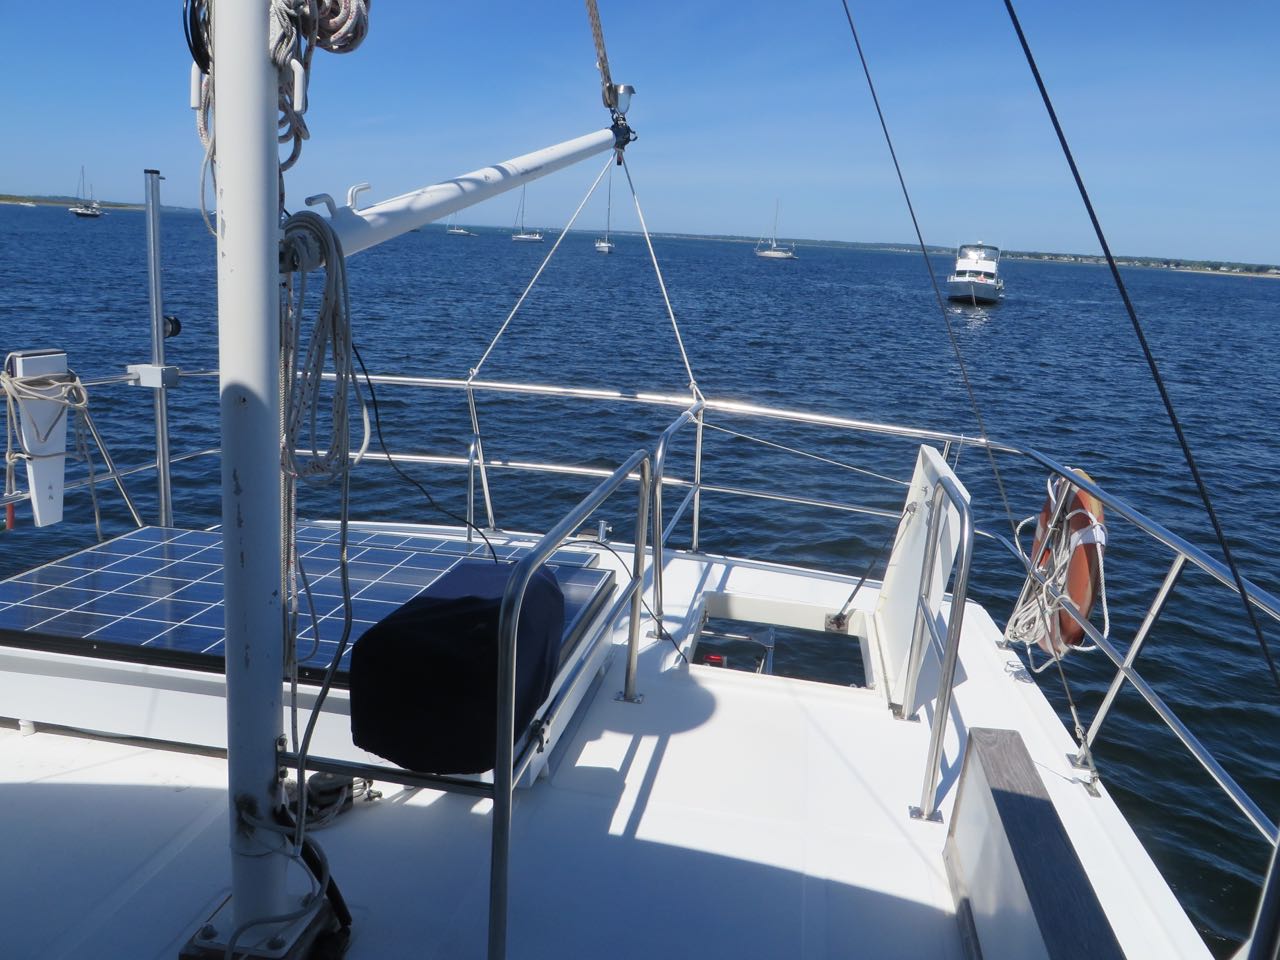
A major addition to the flybridge was the solar panels, a project “completed” last summer shortly after we brought the boat home. We love solar panels and the free energy they provide. To see that project, please refer to Messing About in Boats for the details, including the wiring diagram.
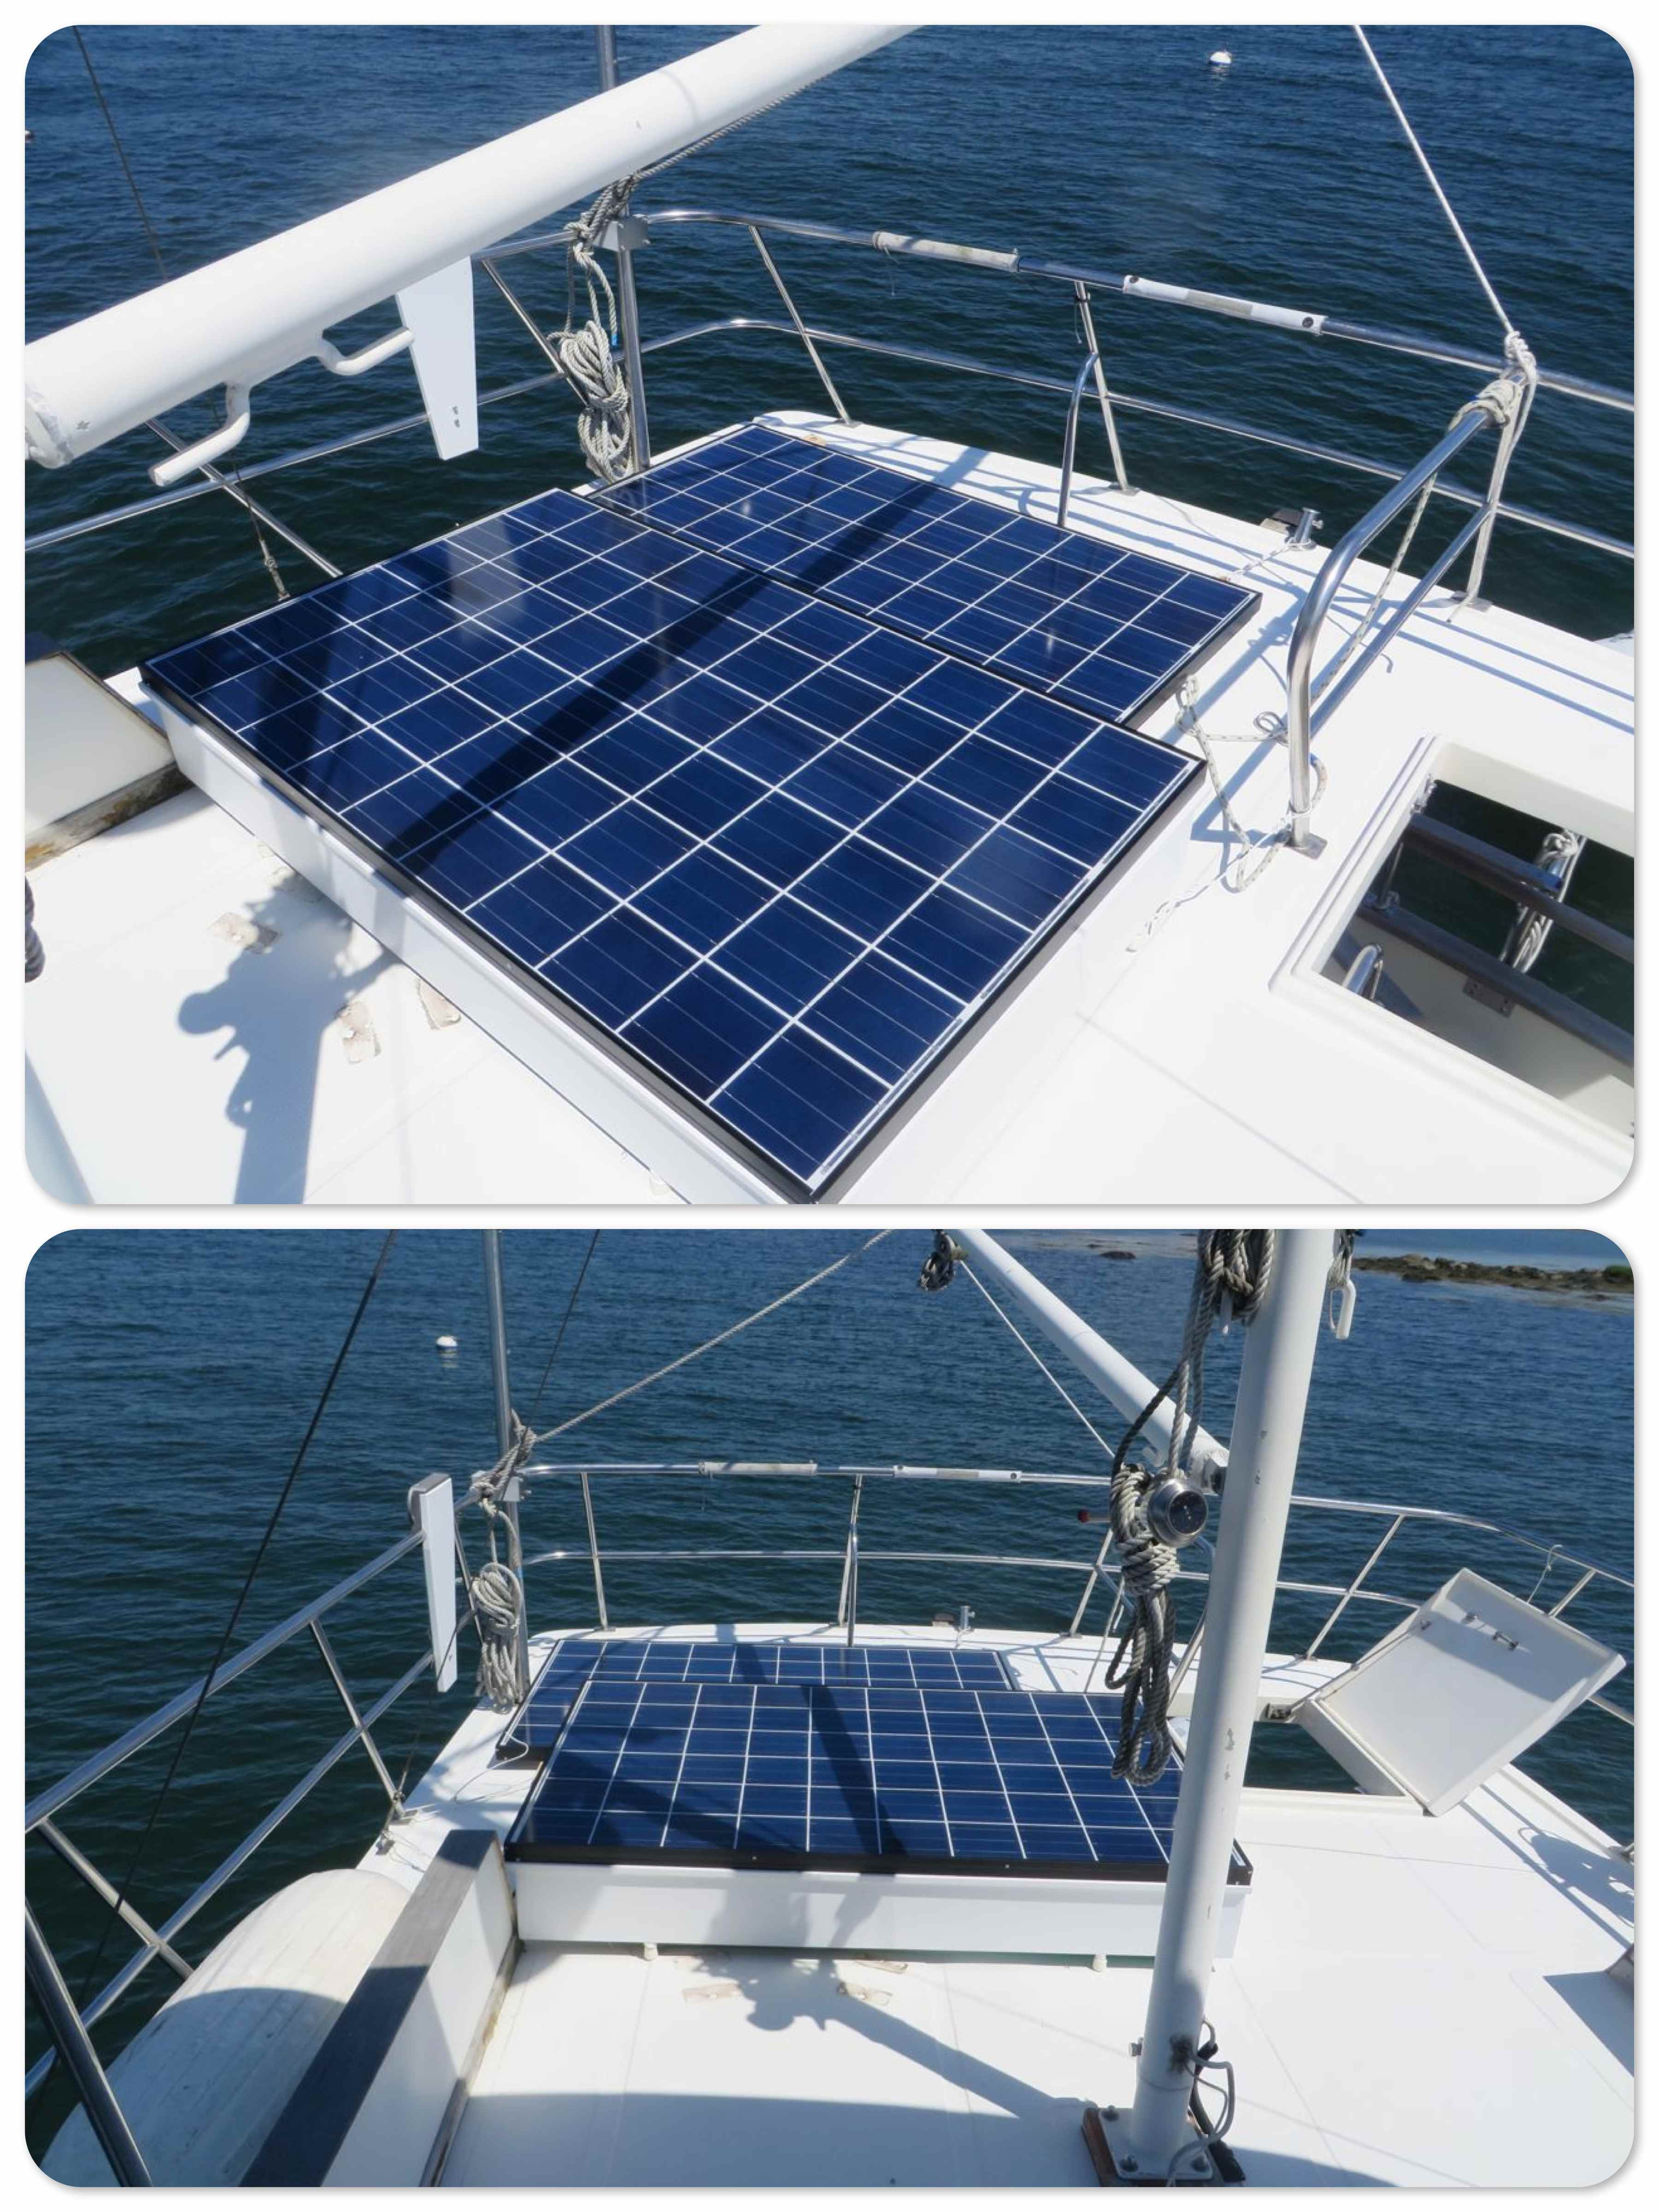
If you look carefully at the pictures of the solar panels above, you will notice that there are no handrails to grasp when you climb up the ladder to the flybridge. We thought this was a serious and potentially dangerous issue. Sooooooo…….. Al found a welder to make handrails to his specifications. It is hard to believe there is something he cannot do, but Al has not learned to weld yet.
Let’s head down that ladder and see what’s below.
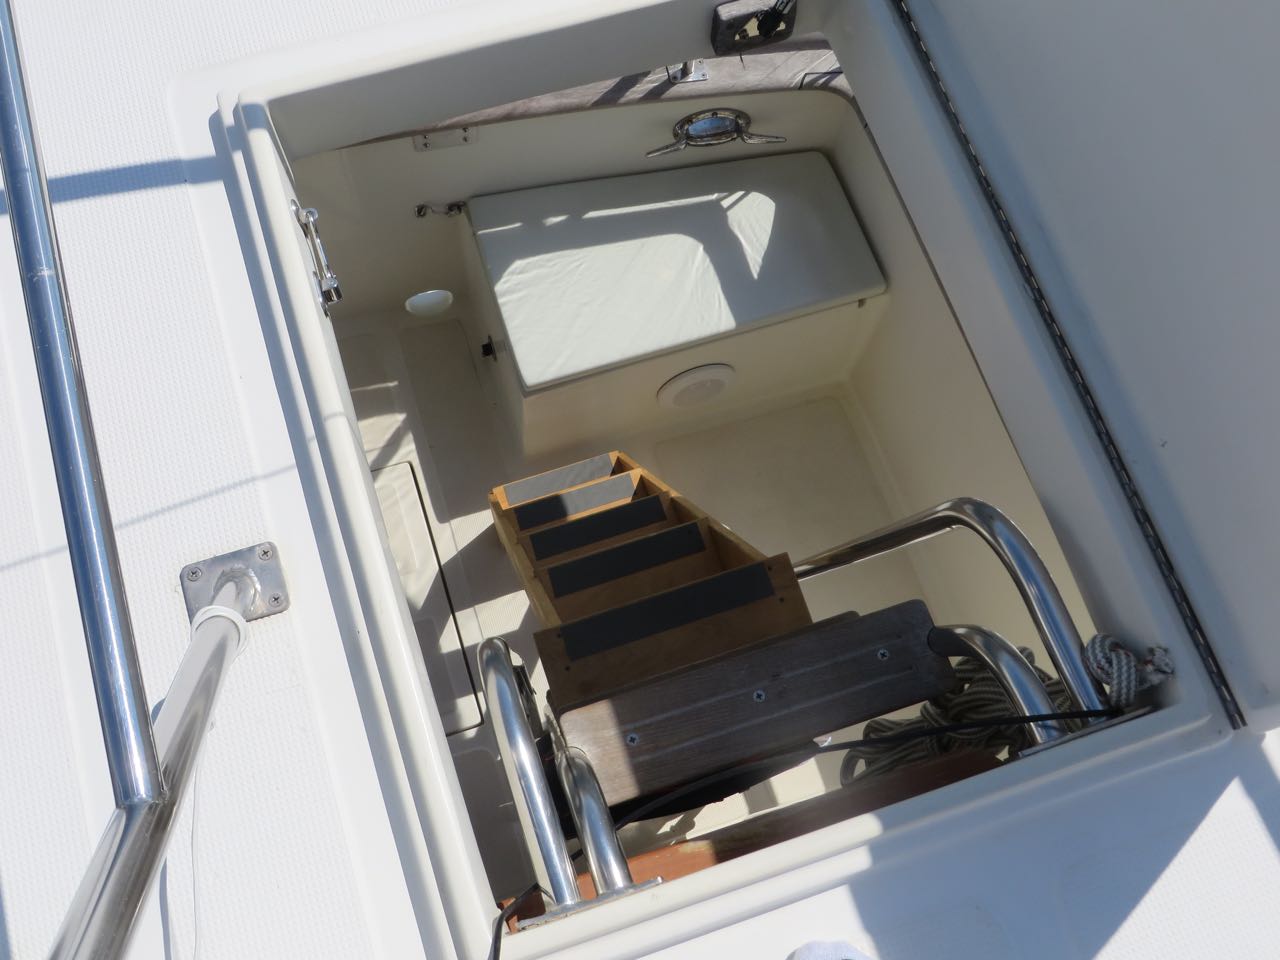
When we were searching for a boat, one of Al’s main concerns was the steepness of the ladder to the flybridge. He worries about my lymphedema, a condition, thanks to cancer surgery, that has left my right leg less flexible and permanently swollen. As luck would have it, any boat that had a nice gradual set of steps to the flybridge, or at least a shorter ladder, also had other features that were less desirable. As you know, you can’t always get what you want, at least not everything. Yes, this is a ladder, but so far I can manage it ok. Naturally, Al can’t let well enough alone, so he built a “prototype” of a modified ladder in wood:
Right – The prototype ladder stepped out for using.
We will have to wait and see if this prototype leads to anything permanent.
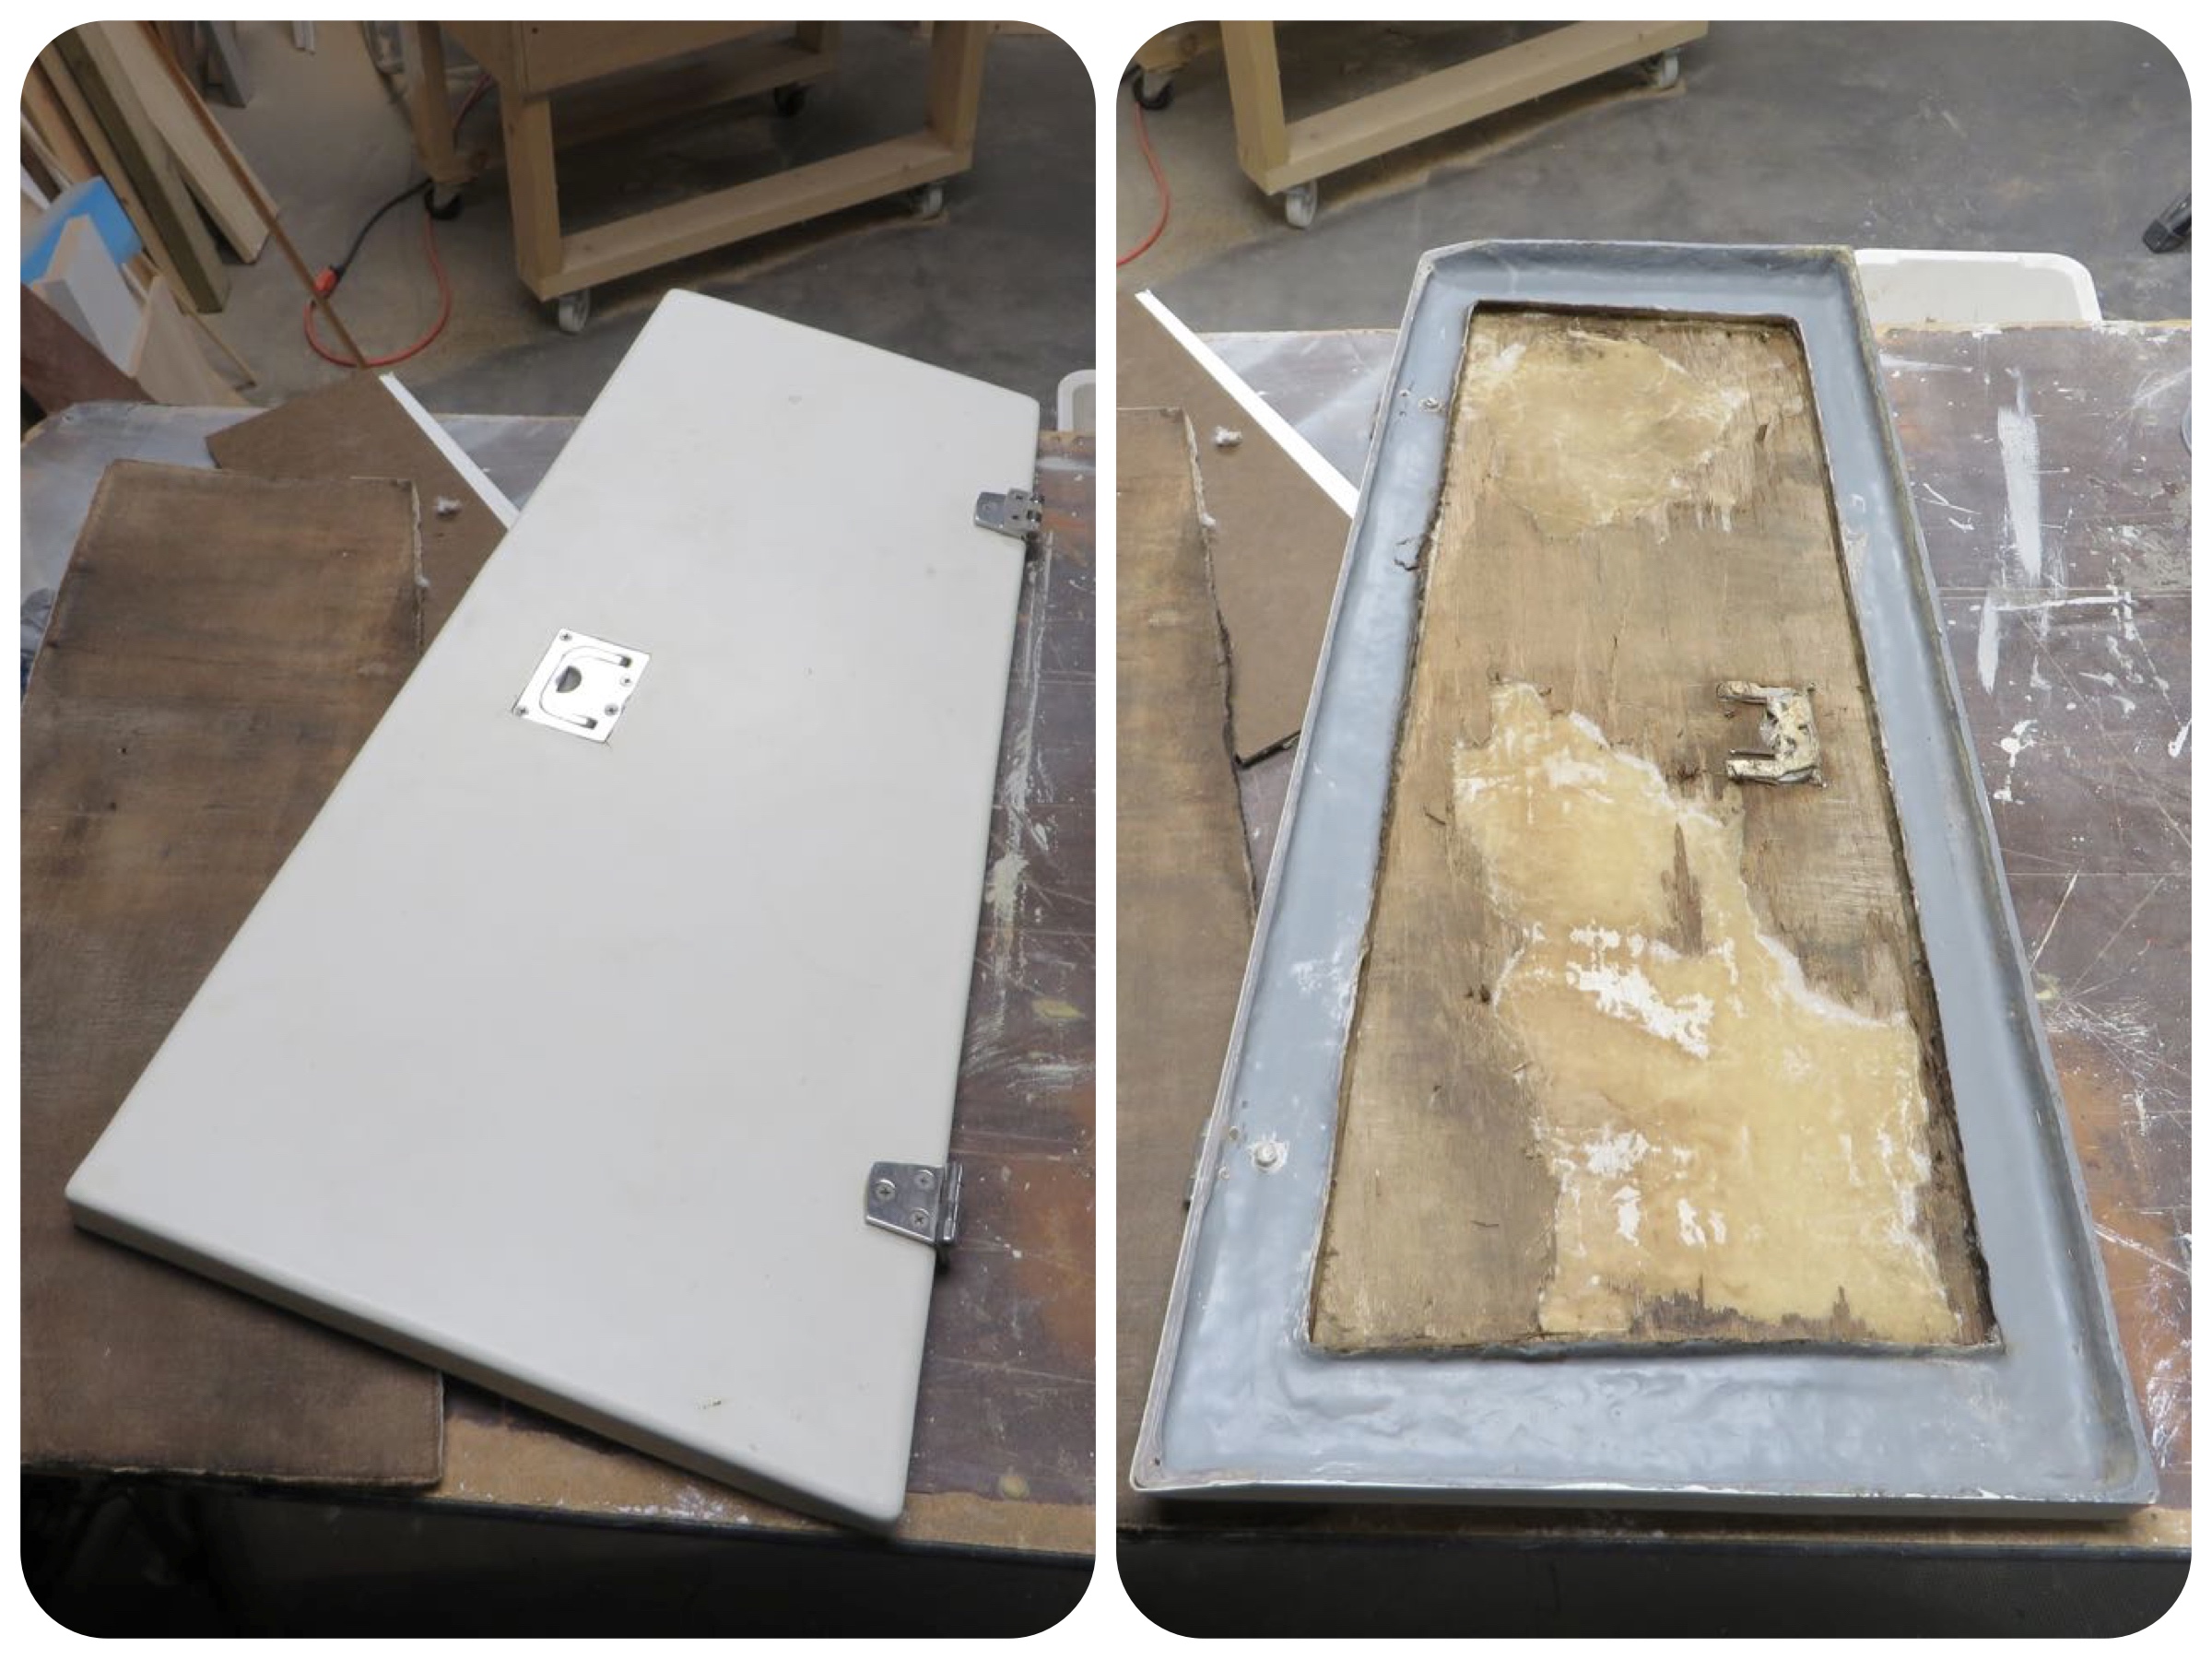
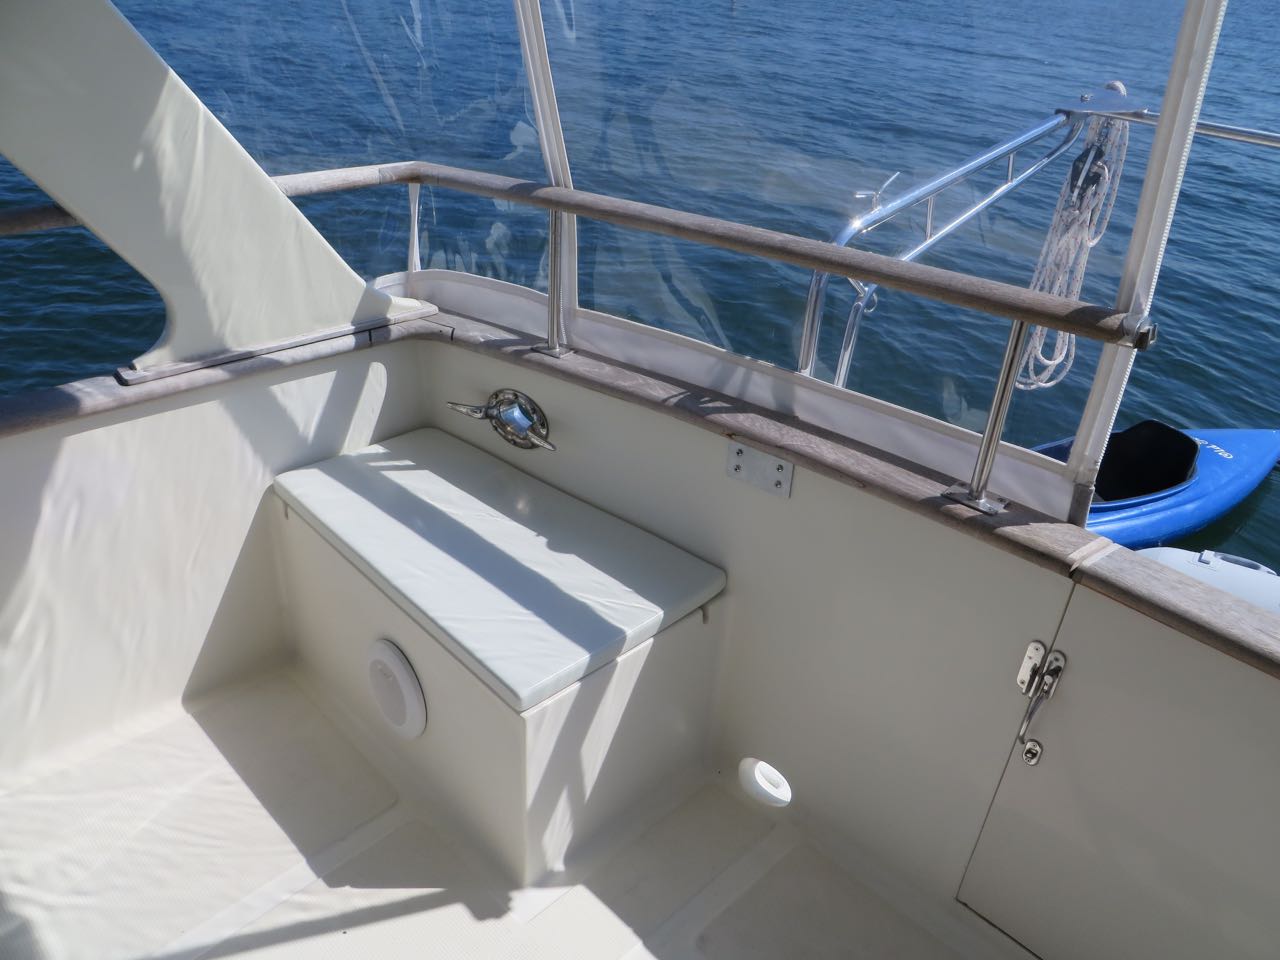
We specifically searched for a style of trawler called sedan or Europa. This design gives us one level of main living space, inside and out, when you combine the salon and the aft area. As you can see above, we step right out from the salon door onto the covered deck. There is a locker in each corner that provides storage and more seating.
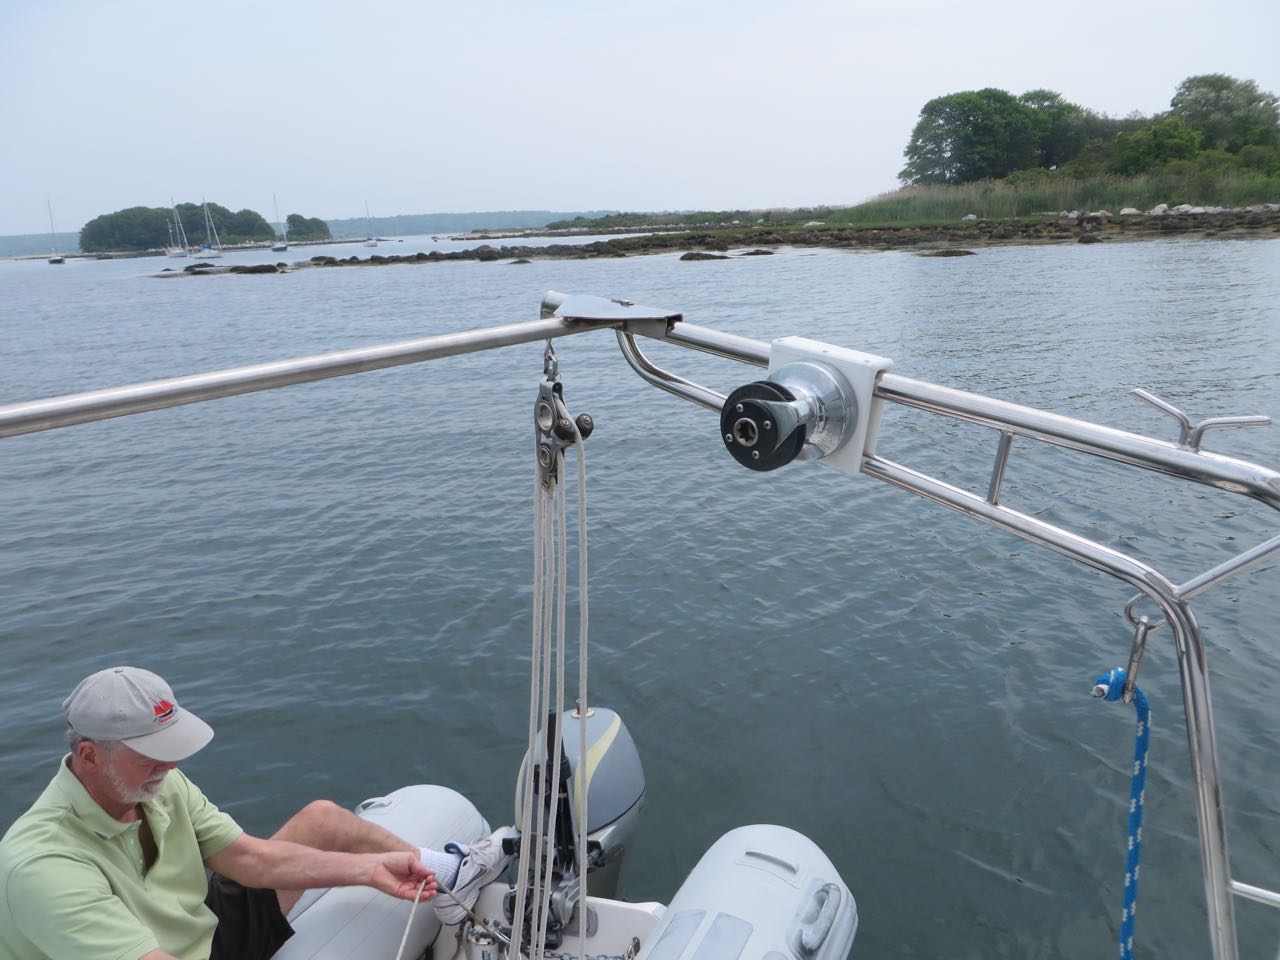
A winch was added to the davits for hauling the dinghy up and down. The engine is pretty heavy so this eases the load. Al made the winch block out of leftover starboard .
Take a look at the picture below and see if you can guess what its purpose might be. Hint – It has something to do with this part of the boat.
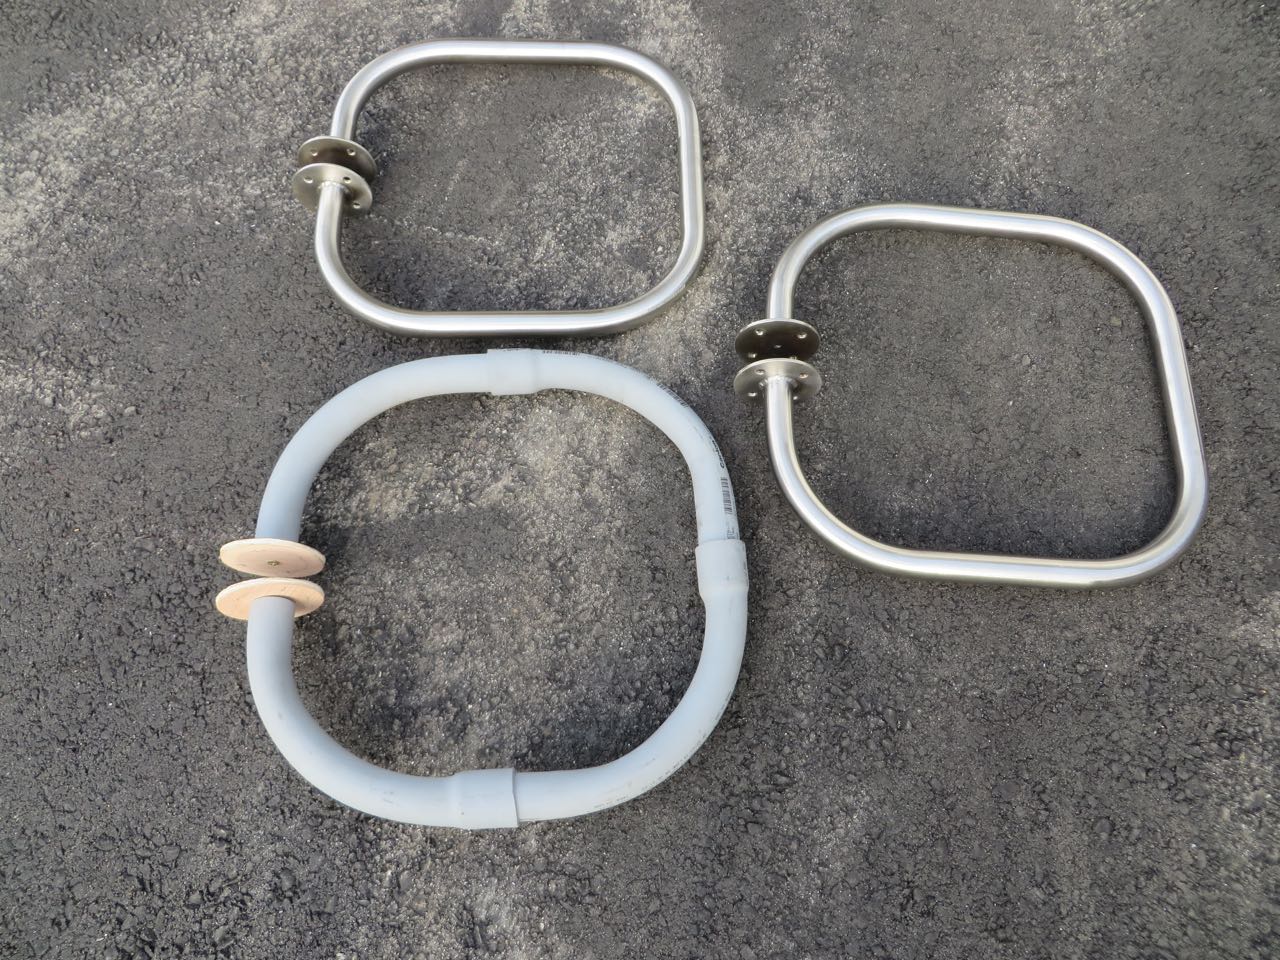
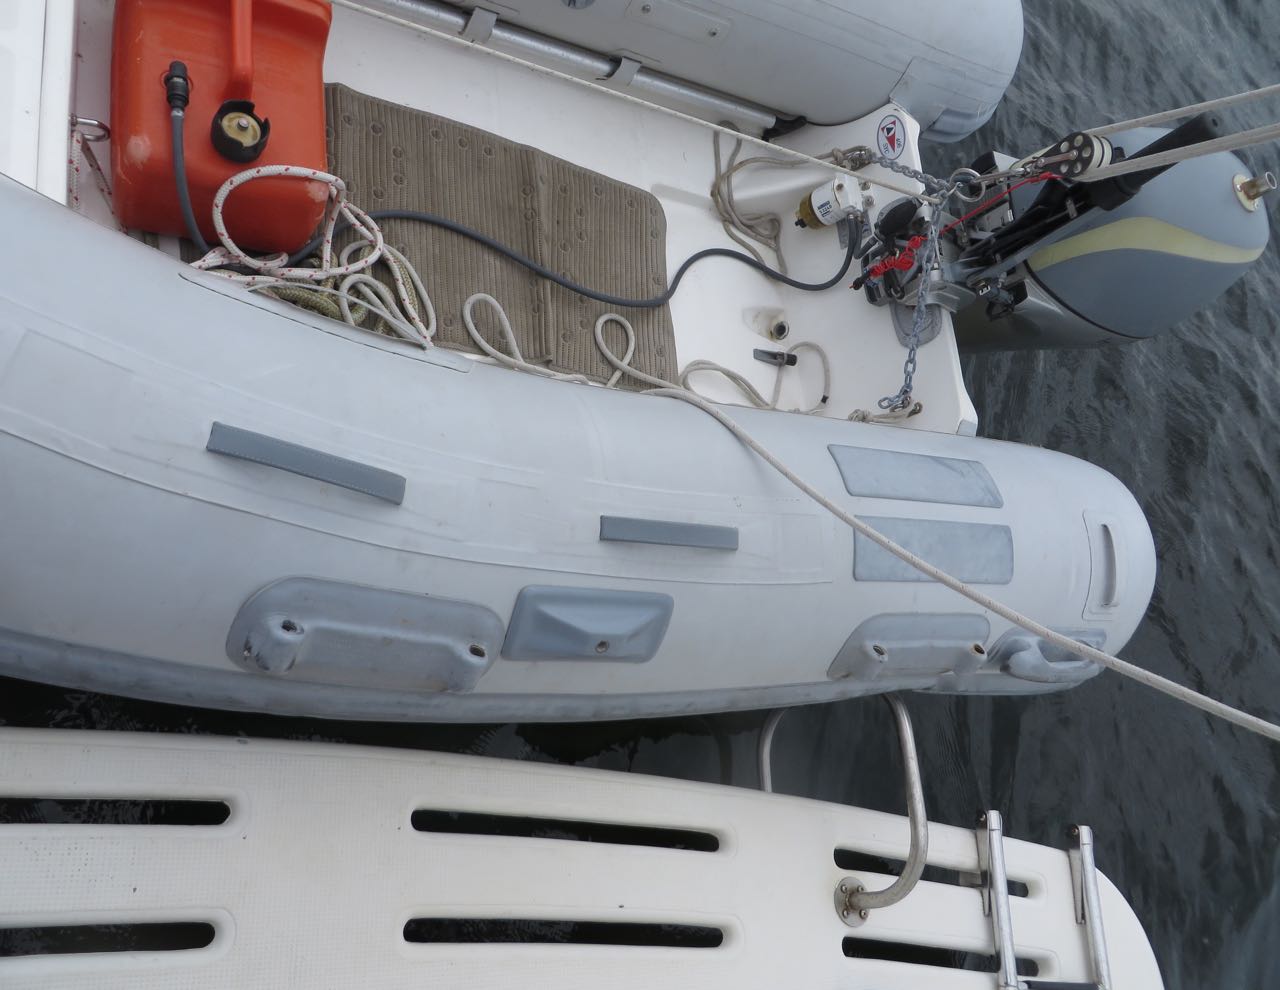
Al attached one on each side of the swim platform to keep the dinghy from sliding under when waves or wakes bounce it up and down. The rings also provide a nice handle to grab as you bring the dinghy up to the boat. They may seem a little odd or unusual, but I definitely see the purpose now.
That brings us to the end of the exterior transformations, to date. The only other change was to use green bottom paint instead of the old red.
Part 3 of the Trawler Transformation will be the interiors changes. ….. Come back and visit. 🙂 They are my favorite part!
Mary Jo F.
Hello,
My name is Mary Jo. My husband and I just bought a 29′ prairie. We have gutted the interior. We are using the old cabinets as a template for the new galley.
We have the same drop in freezer. Did you cut your countertop yourself or did you have a professional do it? I know we need to do a plunge cut for the freezer. I guess my real question is how did you do the plunge cut and what tools (saw) you used?
I enjoy your blog it’s really helpful.
Thanks, Mary Jo