
We love solar power. There is something quite appealing about using the free energy of the sun for power. We spend a lot of time on a mooring or at anchor so solar panels have always been a necessity for us. With solar power, there is less need to run a noisy engine or generator to charge the batteries. And let’s face it, we all have electronic devices, refrigeration, lights, etc that we want to use, even out on a boat.
We added solar panels to both the Morgan sailboat and the Mariner. Before sharing Al’s work on the Kadey Krogen, we will take a brief trip through his various solar panel adventures over the years.
Al mounted the Morgan Center Cockpit’s panels on the hardtop he built over the cockpit. Each panel was 75 watts for a total of 150 watts. It was a great location for the panels.
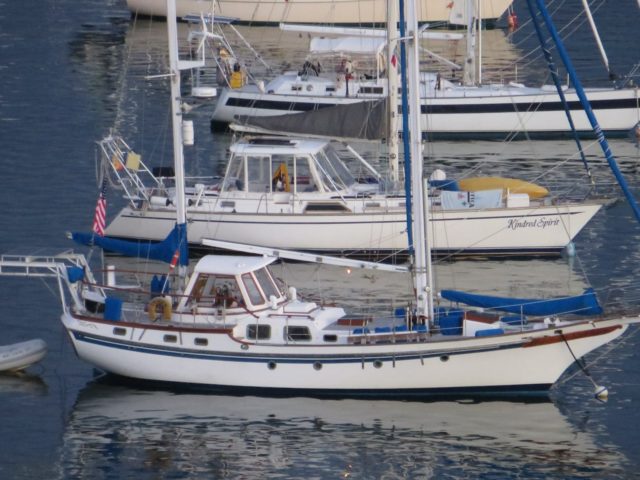
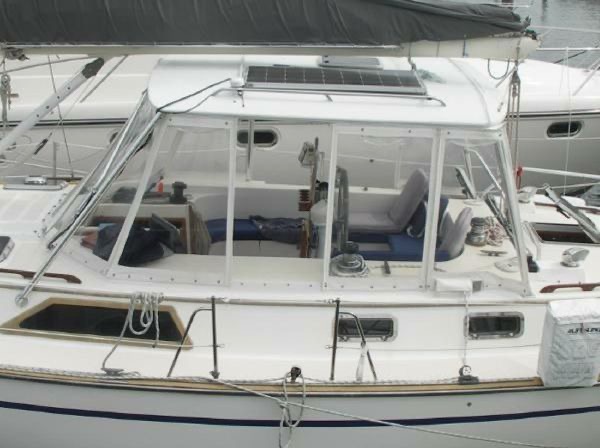
For the Mariner Orient 38, Al went with two 135 watt panels for 270 watts total. Interestingly, in the ten years since the installation of the sailboat’s solar panels, the efficiency of solar panels increased for the size, and the price decreased. Win-win! The location for the solar panels on the Mariner Orient 38 went through several iterations.
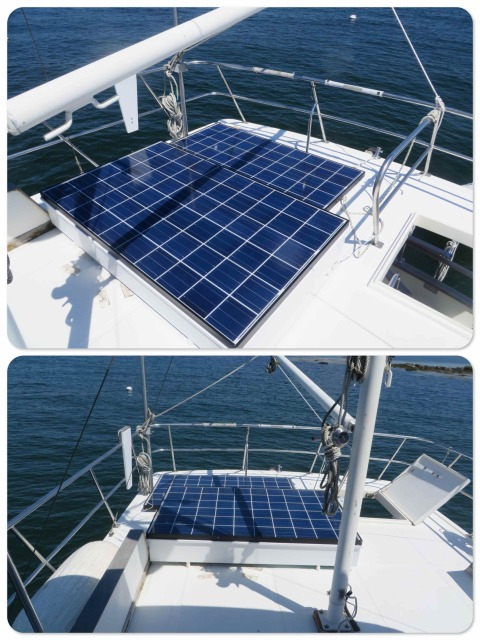
In Vero Beach, Florida, Al decided the panels were getting too much shade from the bimini. While we enjoyed the conveniences of Vero Beach, he decided to change things up. The man just has to have a project at all times!
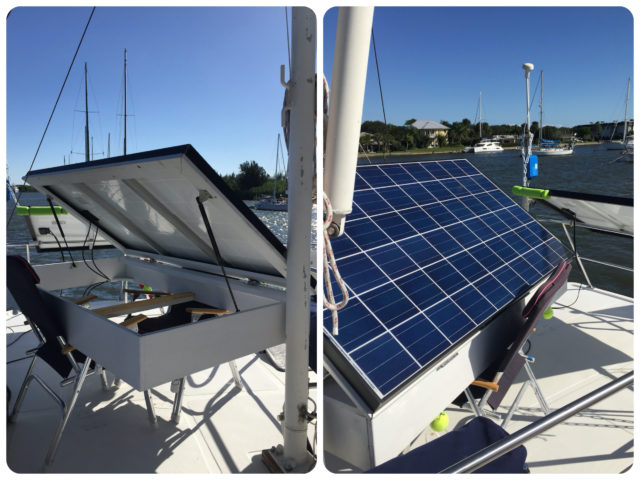
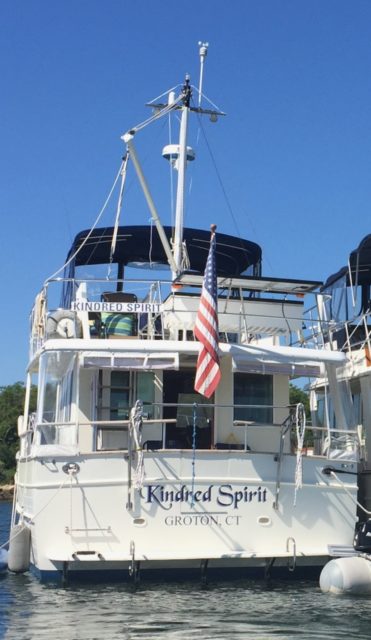
Finally, it was mutually decided that this table configuration, although it had made it across the Gulf Stream and back to CT was somewhat unstable. The final Mariner solar configuration was to mount both panels on the back rail of the flybridge.
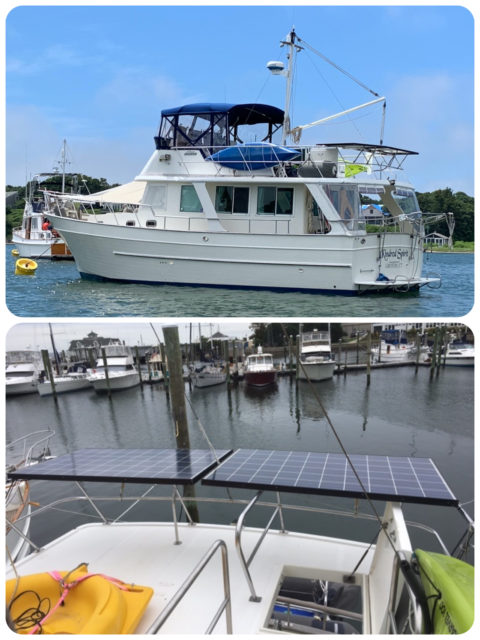
This year’s question was “where to put the solar on the Kadey Krogen 39?? The priorities were:
1) a safe location with sun exposure,
2) find enough space for adequately sized panels,
3) and to not be in the way.
Top of pilot house looked like a good spot, but first Al had to remove the large 3-foot diameter satellite dome. No loss there – it had not been used in 10 years and was not functioning.
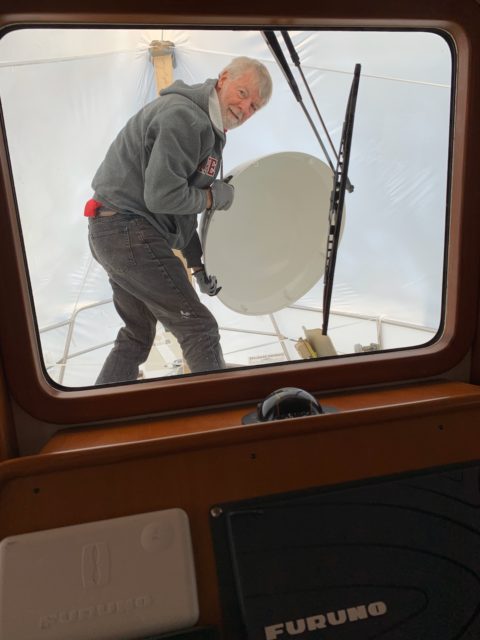
Next, Al researched solar panels for size and wattage. He made cardboard templates (of course!) to see how panels could fit on the pilot house roof without interfering with the two opening hatches.

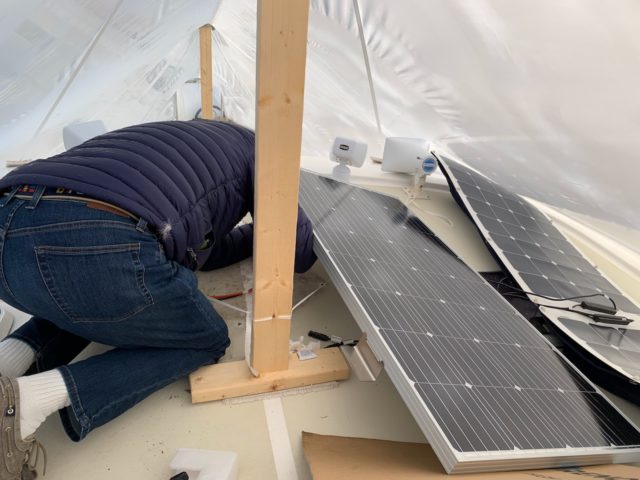
I try to understand the basic concepts of the mechanical and technical aspects of our boats. Al is really good at answering my questions, even when they are repeated again and again.
Let me see if I can get technical about how solar panels work. After mounting the solar panels they are wired to the MPPT (Maximum Power Point Tracking) solar charge controller and connected to the batteries. Our MPPT is located down in the engine room. Its job is to connect the solar panels and the batteries, regulating the battery charging process to ensure the battery is charged correctly, or more importantly, not over-charged. The MPPT converts the higher voltage of the panels to the acceptable charge voltage of the batteries.
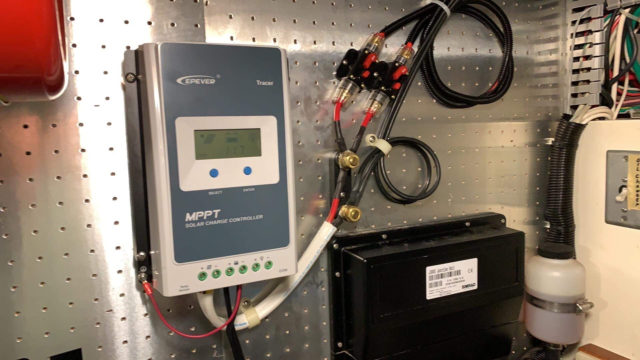
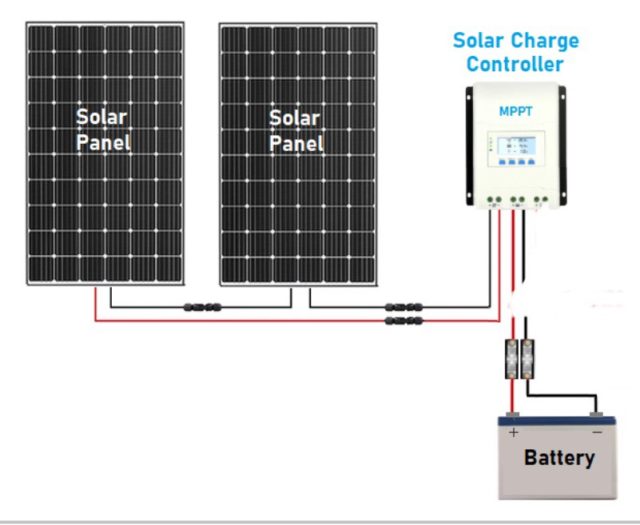
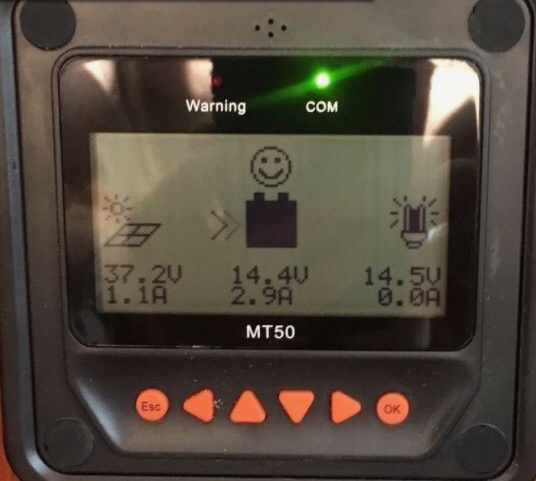
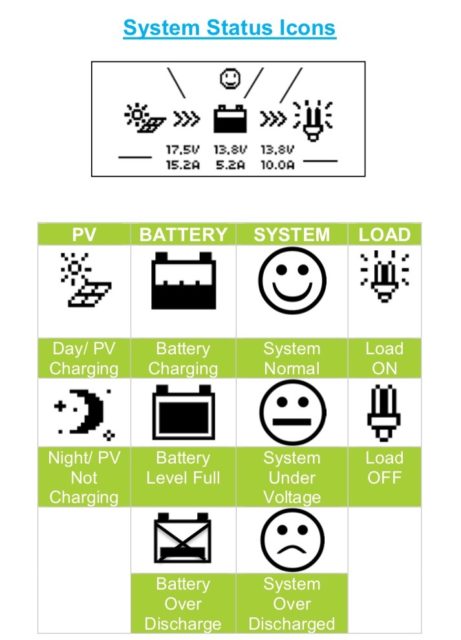
Al added the MT50 remote screen in the pilot house so that we can view instant information about the solar panels without making a trip down to the engine room. The first thing I noticed was that this monitoring screen looked, hmmm, how do I say this? A lot “cuter” than our old ones? It has a smiley face!

Let the sun shine!

How to Survive and Enjoy the Winter While Waiting for Boating Season – Kindred Spirit
[…] boat’s energy systems, even though the do depend on sunshine in the right direction (“Watsonizing – Let the Sun Shine!“) It’s that “right direction” part that often frustrates Al when the solar […]